Centered around the goal of making live streaming accessible for everyone, YoloBox lineups are created easy to operate with an intuitive interface. In spite of that, beginners especially those who are new to video productions may still find it hard to get started. In this blog post, we will walk you through all the steps needed to start live streaming with YoloBox lineups.
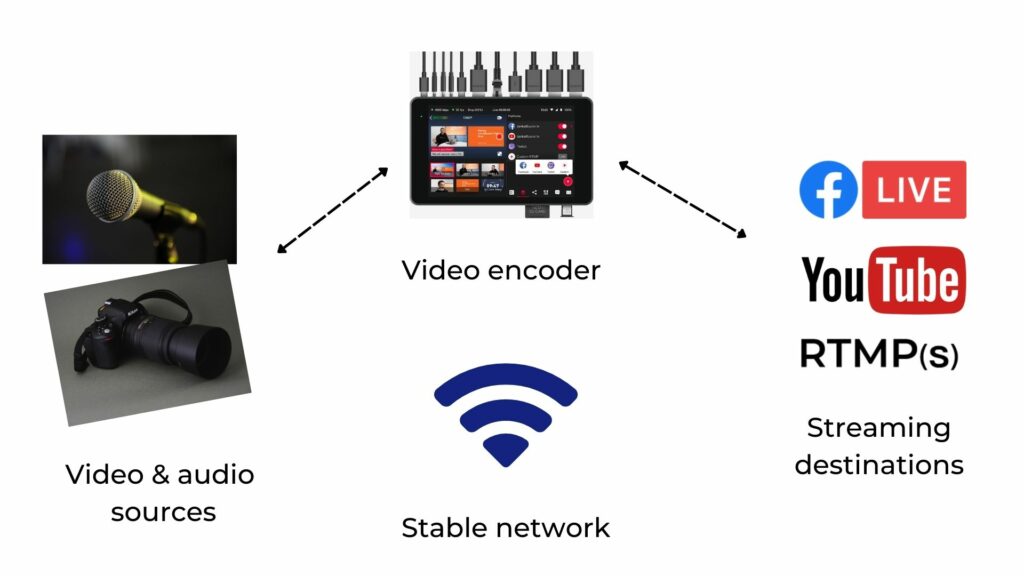
What you’ll need to start live streaming
- Video and audio source(s) – These are cameras, SD card videos, PDF files, computer screens, phone cameras or screens, etc.
- Video and audio source(s) – These can be from your cameras, microphones, mixer feeds, SD card videos, etc.
- A video encoder – This can be a hardware device or computer software that packages real-time video and sends it to the Internet.
- A streaming destination – The place your live video will be displayed. Popular ones include YouTube, Facebook Live, and Twitch.
- A stable Internet connection – A key factor to a successful live stream. A stable internet connection ensures your live stream doesn’t freeze, buffer, or drop off entirely.
Once all above mentioned are ready, then you’re good to go.
How to live stream with YoloBox: 7 steps.
Live streaming on YoloBox is very easy, and the whole streaming setup workflow comes down to 7 easy steps.
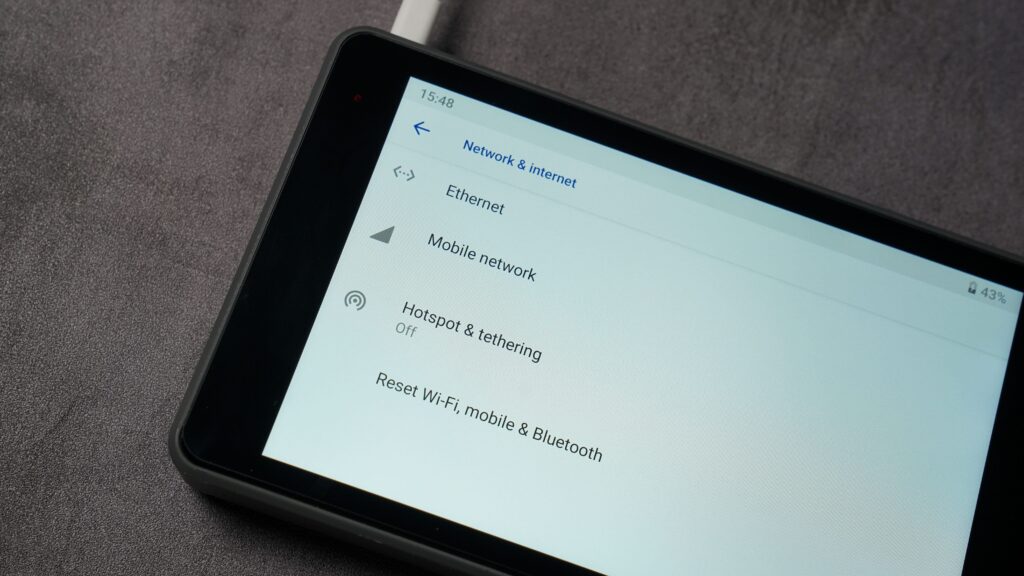
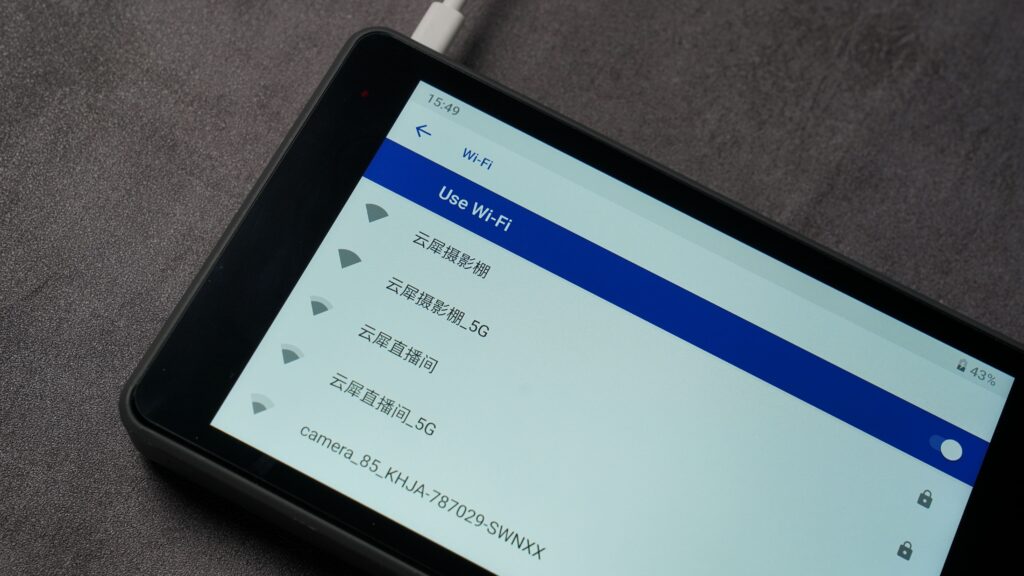
1. Connect to the network
YoloBox and YoloBox Pro support 3 networks – WiFi, Ethernet and 4G. Whether you live stream for indoor or outdoor activities; at a specific place or to move around, YoloBox always has your back. Go to “Account”, choose “WiFi” to connect, or simply insert the SIM card or plug in the Ethernet cable to connect to it. By installing Speedify, you can also have a bond network for more reliable live streaming.
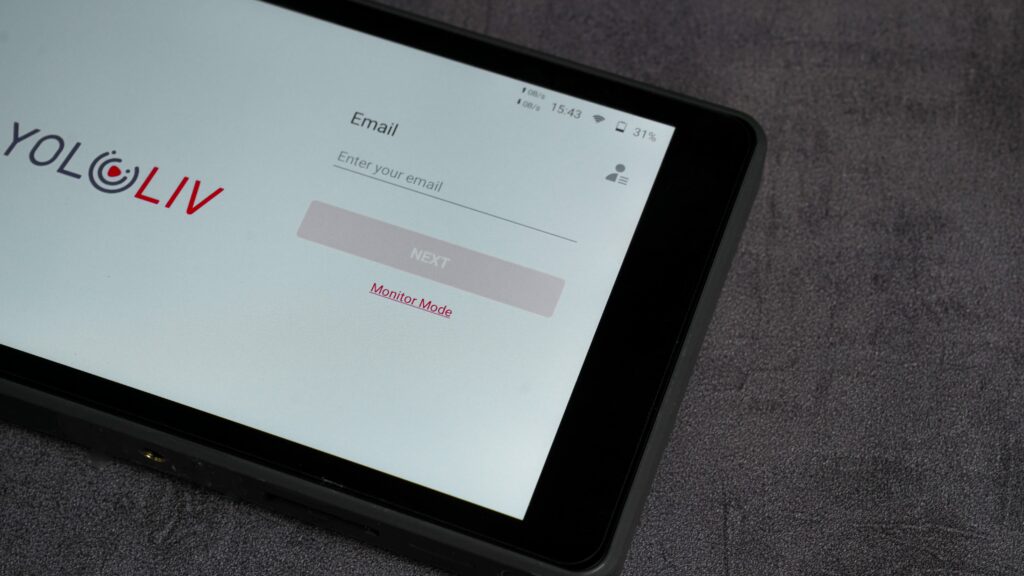
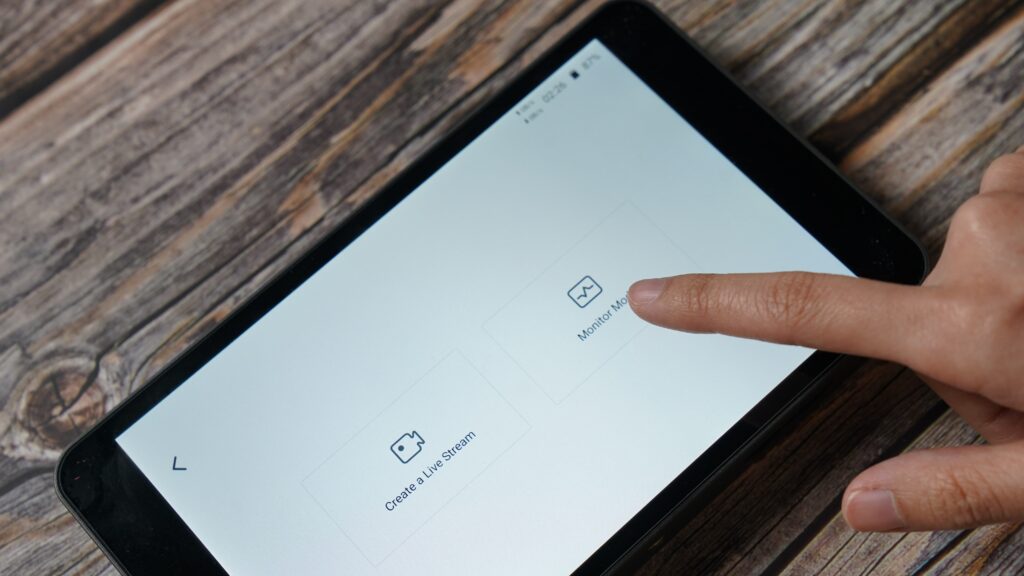
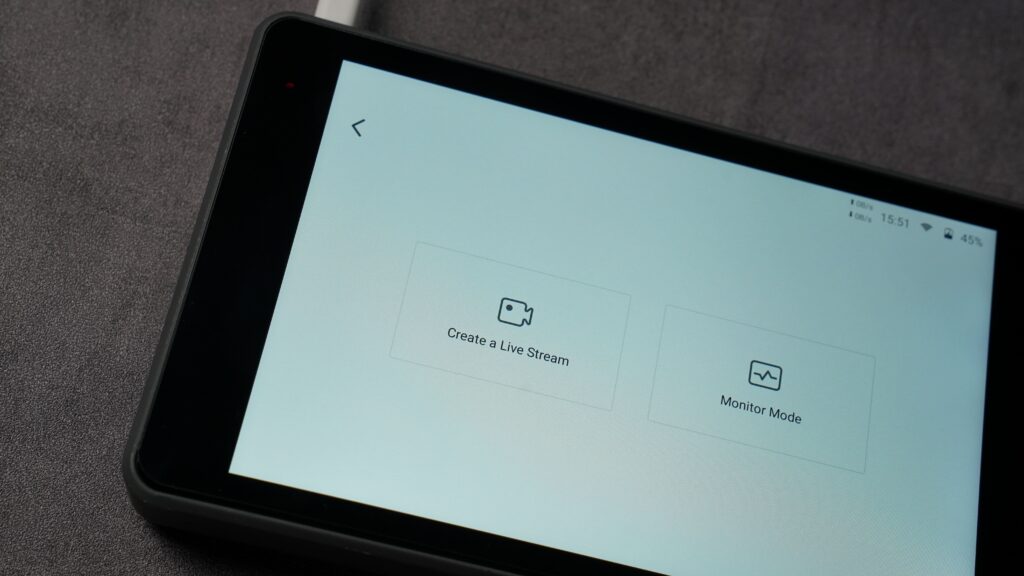
But, if you simply use YoloBox as a monitor, you can skip all the above. Simply tap on the “Monitor Mode” will do.
2. Create/schedule a live event
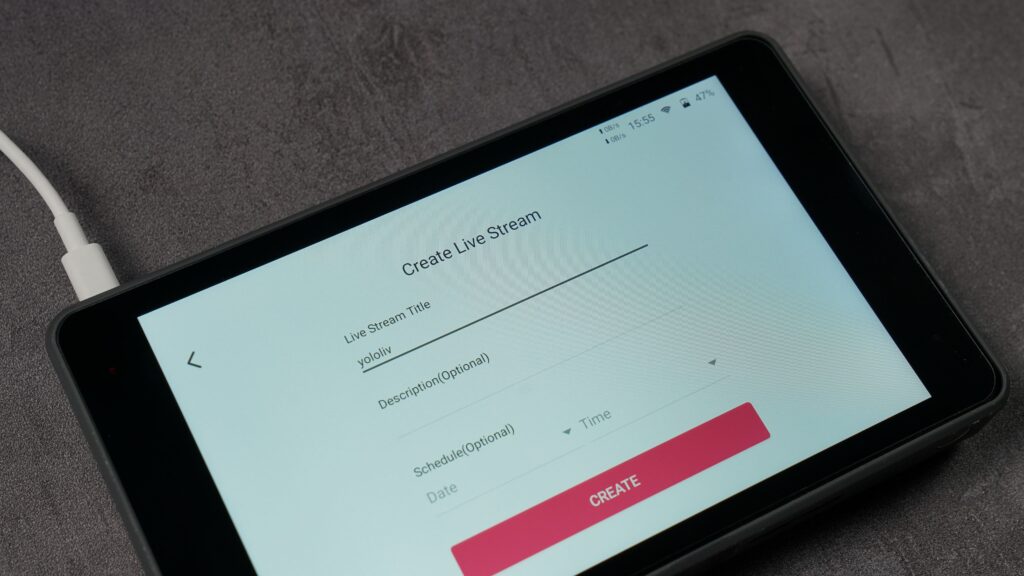
For streaming needs, go with the first option after logging into YoloBox – “Create a live event”. Set your live event title, description and date, which you can just leave empty if you want to live stream immediately, or set a date and time if you plan to go live later.
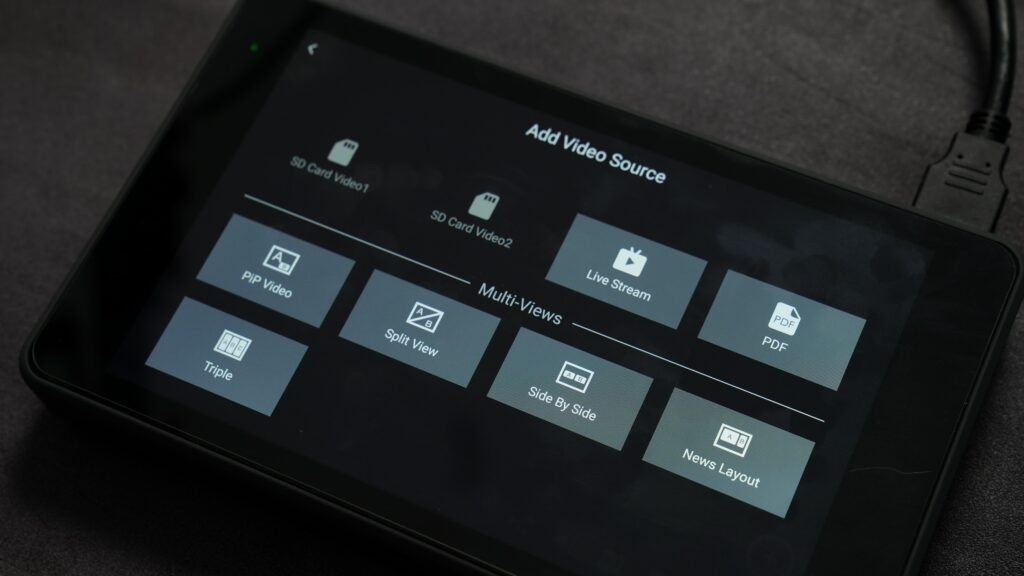
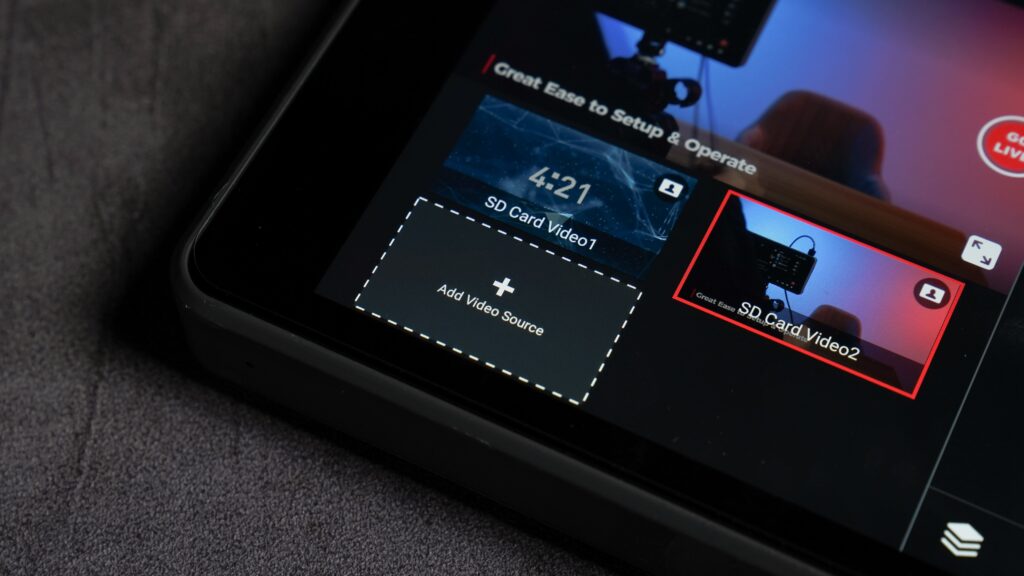
3. Add video & audio sources
YoloBox, YoloBox Pro and YoloBox Mini support up to 7, 8 and 1 video sources respectively.
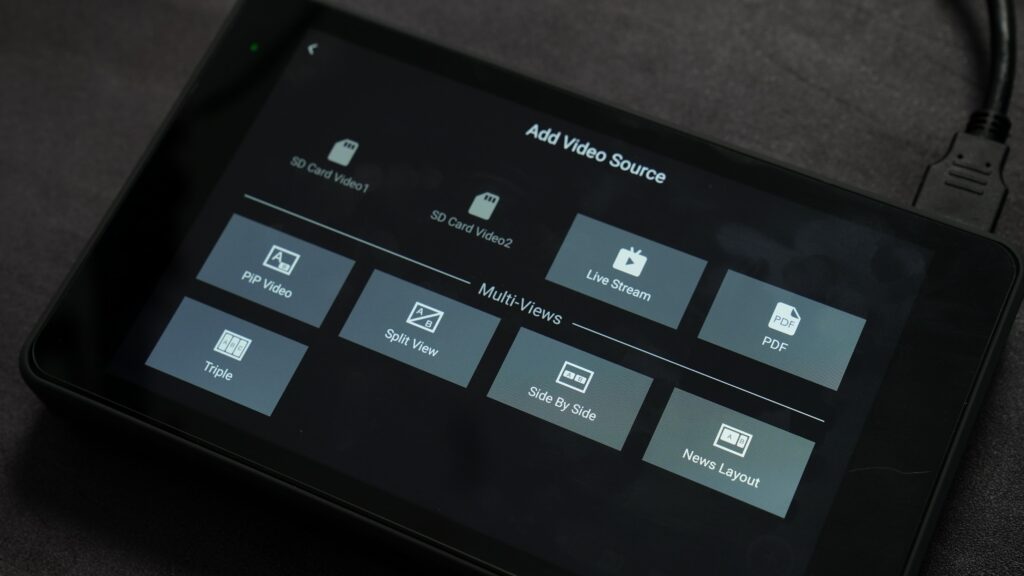
- YoloBox has 2 HDMI inputs, 1 USBA, 2 SD card videos, 1 PDF, and 1 live stream. YoloBox has 1 dediactaed audio in port (mono) and 1 audio out port for monitoring.
- YoloBox Pro, it’s 3 HDMI inputs, 1 USBA or USBC, 2 SD card videos, 1 PDF, and 1 live stream. (Please note, ”Live Stream“ as a video source is an RTMP Pull source. Currently, you can only utilize this feature by having another YoloBox, signed in the same account, then video sources from the other YoloBox/Pro can be added to this YoloBox/Pro. This is mainly made for remote production. ) YoloBox Pro has 2 dedicated audio ports, Line in (Stereo) & Mic in (Mono) and 1 audio out port for monitoring.
- YoloBox Mini currently only supports 1 HDMI source. Same to YoloBox Pro, YoloBox Mini has 2 dedicated audio ports, Line in (Stereo) & Mic in (Mono) and 1 audio out port for monitoring.
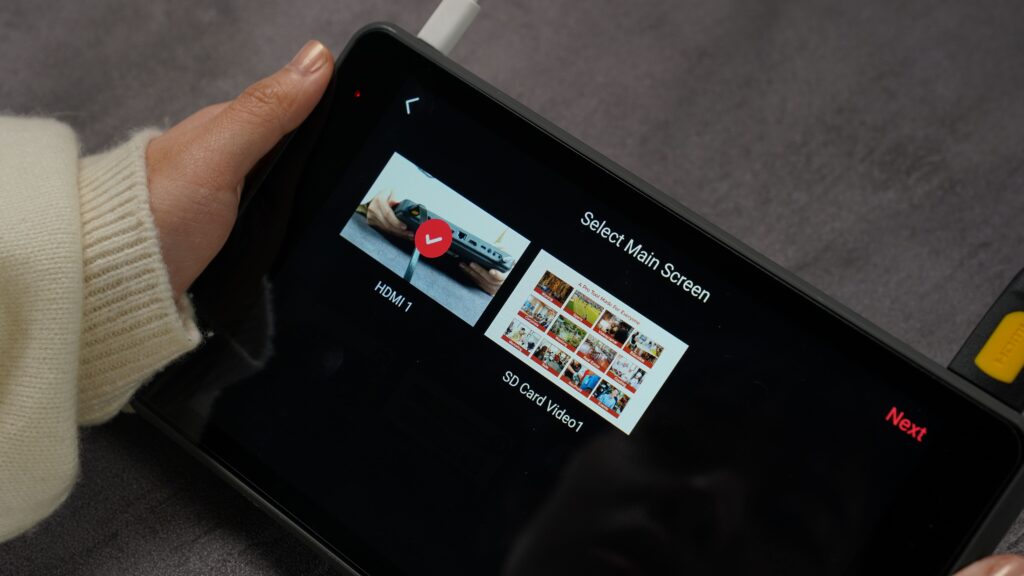
4. Add Multi-views
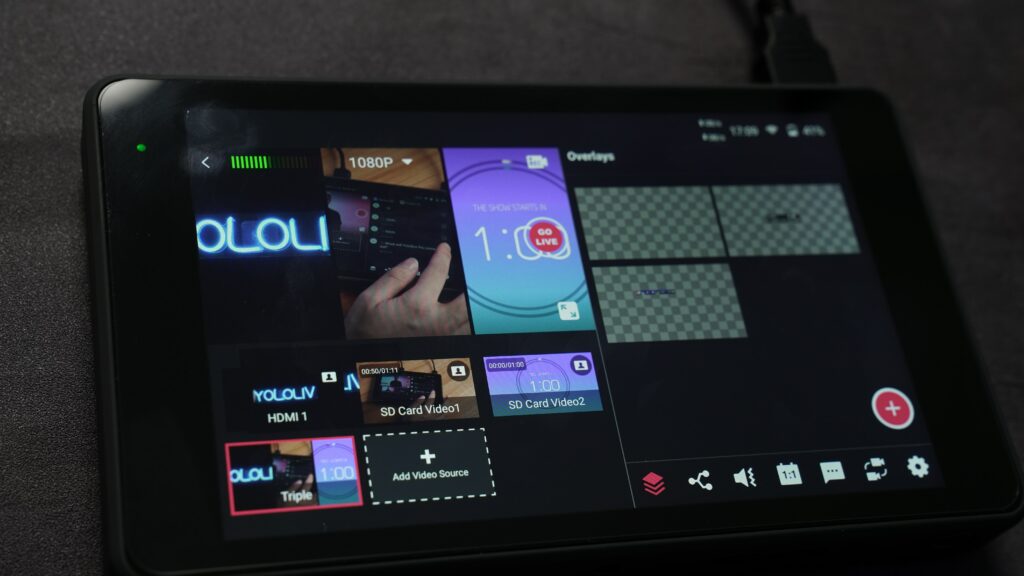
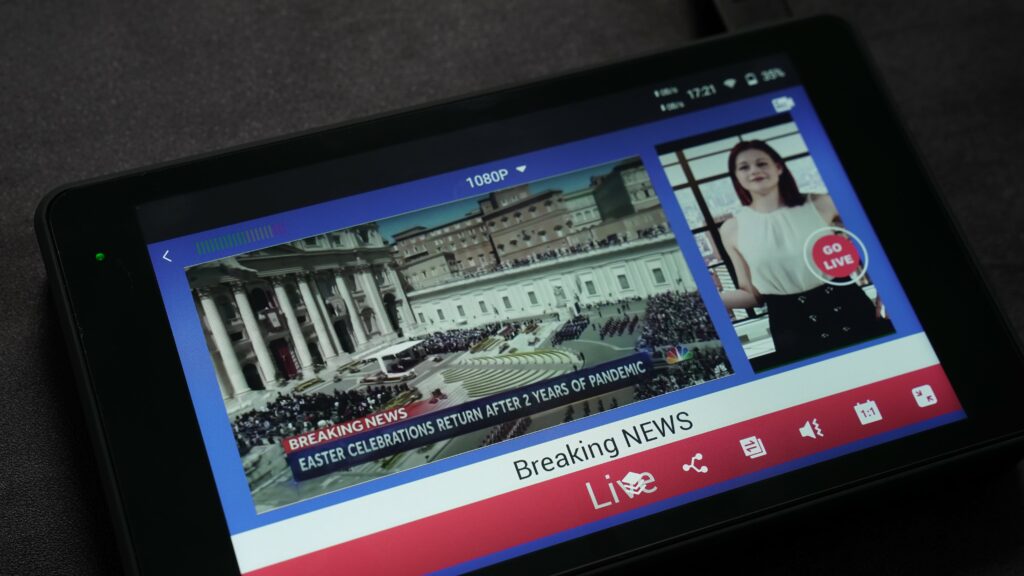
Multi-view makes streaming look professional. YoloBox Pro now has 5 multi-views templates, Picture in picture (PIP), Side by side, Split view, News Layout and Triple.
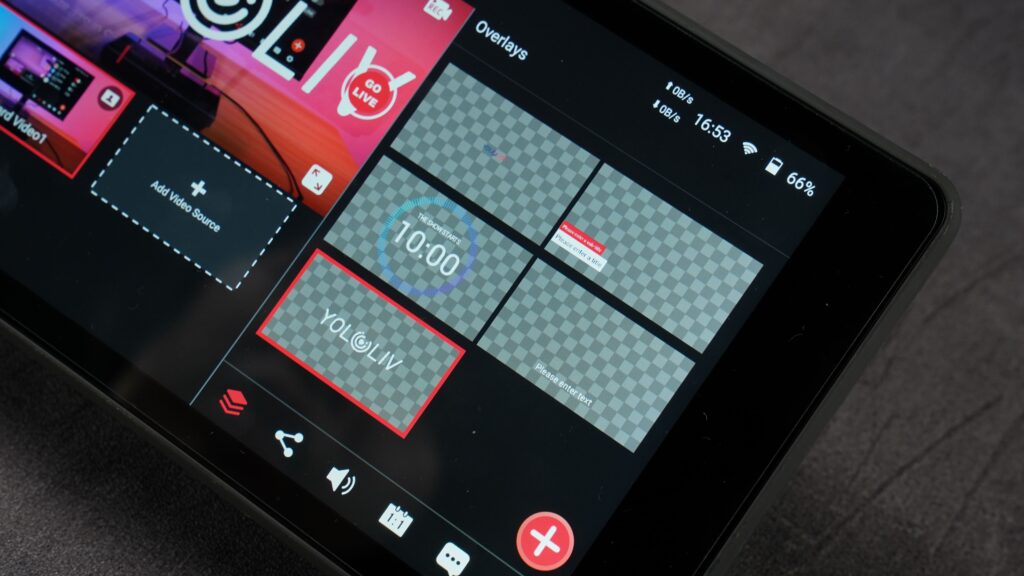
5. Add graphics overlays
Graphic overlays are great elements for live streams. It makes your stream look professional and engaging to audiences. YoloBox Pro now supports various types of overlays including:
- Image overlays: It now support GIF image overlay
- Lower-thirds: Multiple built-in templates to choose from
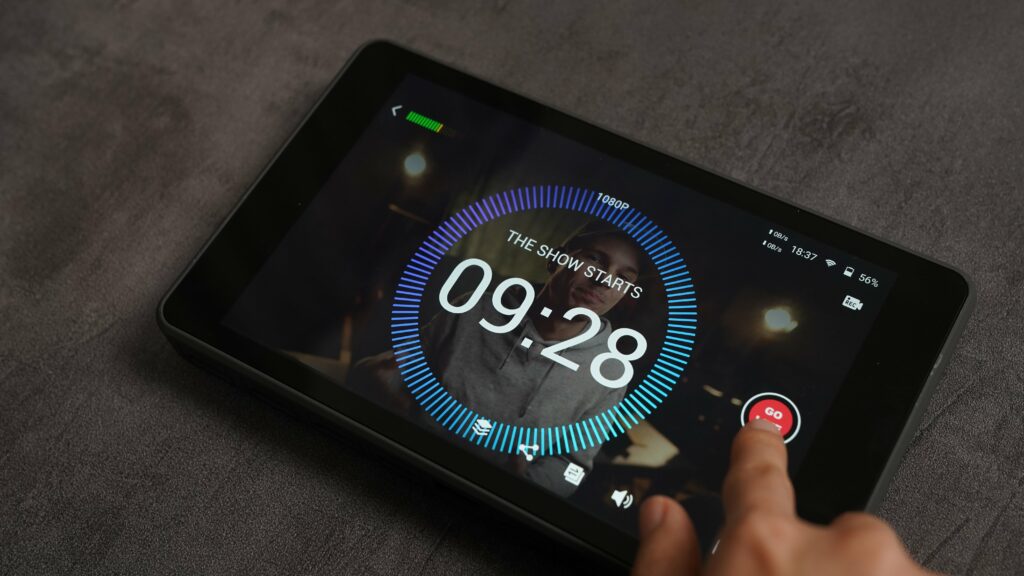
- Countdown timers overlays: 2 preset built-in countdown timer overlays with multiple customization options
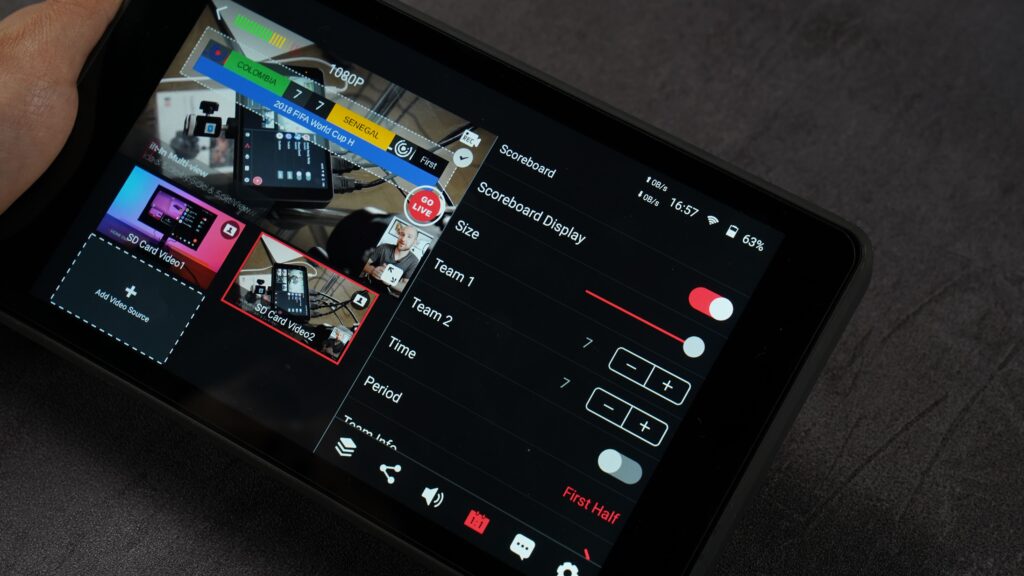
- Scoreboard: Customize according to which sports you live stream
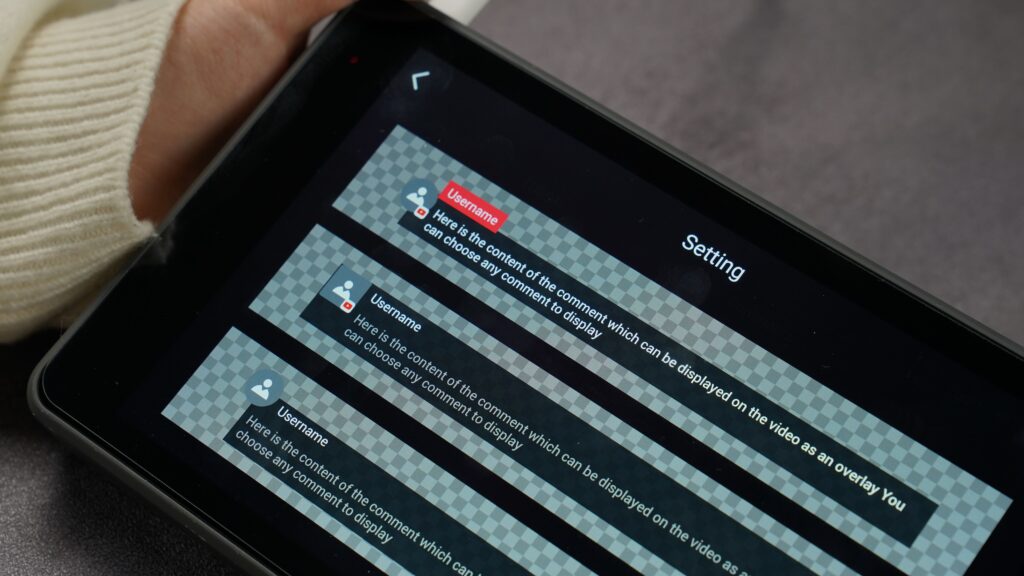
- Comments overlay: You can see the comments right on the box without going to check your phone or computer to see what your audiences are saying.
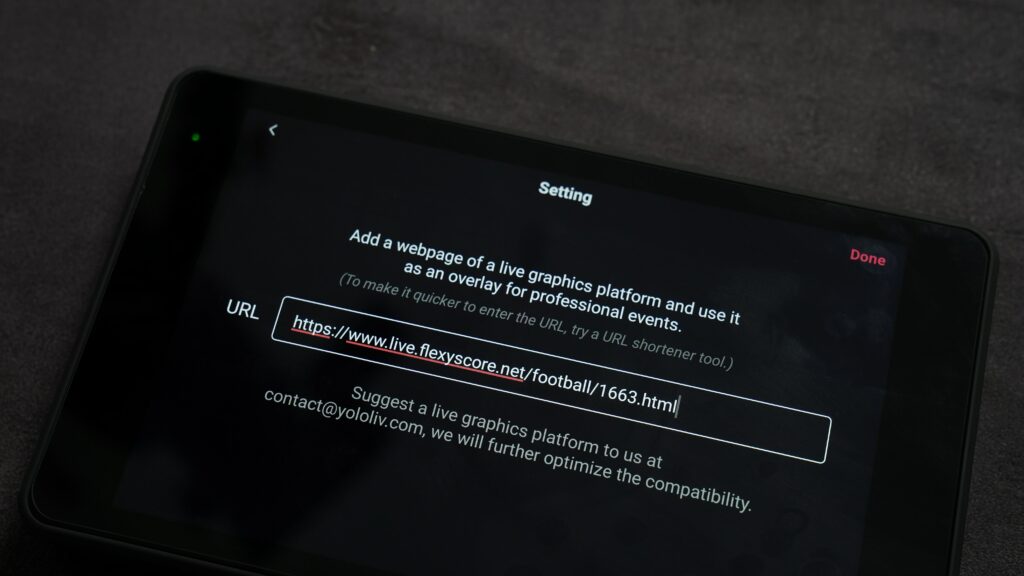
- Web URL Overlays: a recently added new feature. You can add any webpage and display it as an overlay on top of a video source.
They are all customizable with built-in templates. You don‘t have to start from scratch.
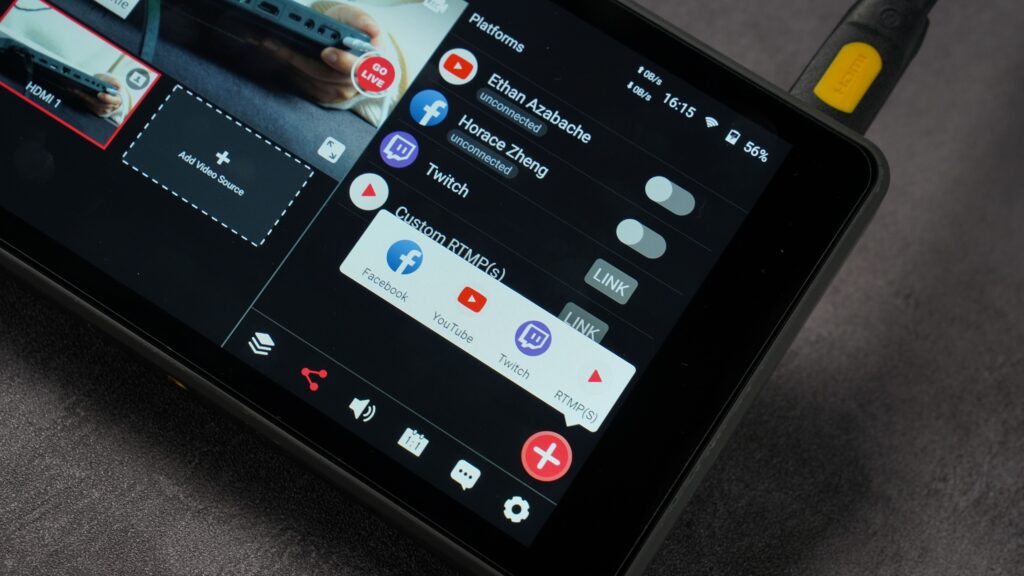
6. Choose a live streaming destination
Which destination to live stream to depends on your streaming purpose and your target audience.
Youtube, Facebook and Twitch are 3 most popular platforms to live stream on.
- Twitch is mainly for gaming. Twitch is free to start, with additional tiers if you need them.
- Youtube (free) is for many things: personal, lifestyle, shows.
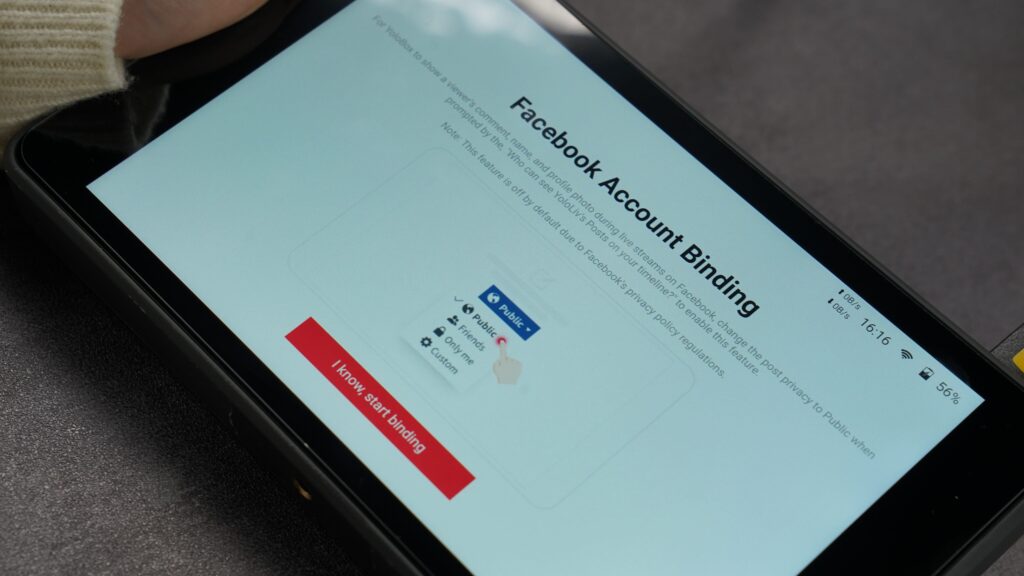
- Facebook (free) is for connecting with your community, sharing immediate news, as well as growing your brand.
All YoloBox Lineups support direct integration with Facebook, Youtube and Twitch. That means you can log into your accounts and go live by simply enabling the button.
You can also live stream to any other platform as long as it supports RTMP.
How to Live Stream with RTMP(s) on YoloBox/YoloBox Pro?(Facebook, Youtube, TikTok, Instagram & Dacast)
YoloBox supports live streaming to any 3 destinations simultaneously.
7. Go live and record the live event
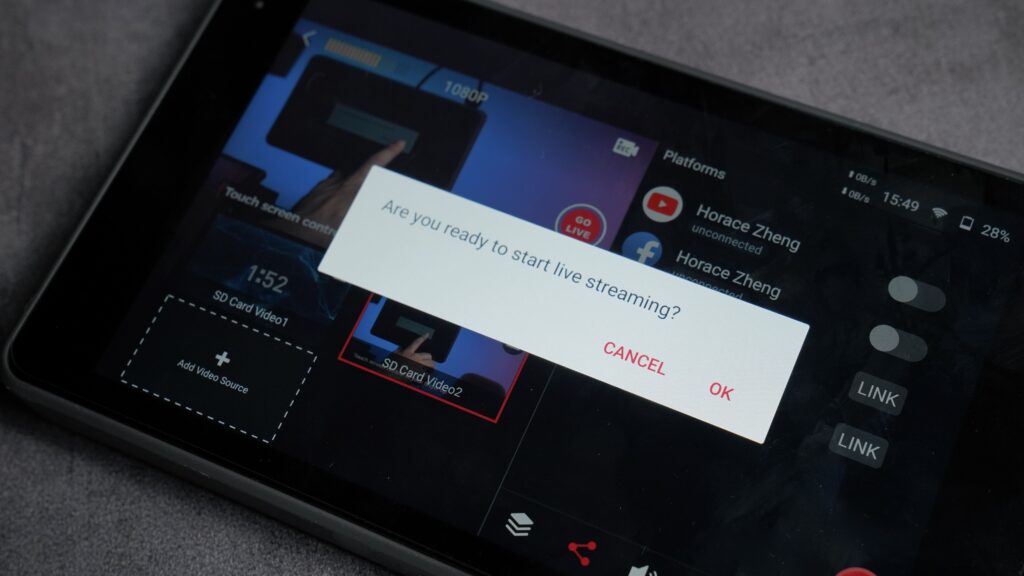
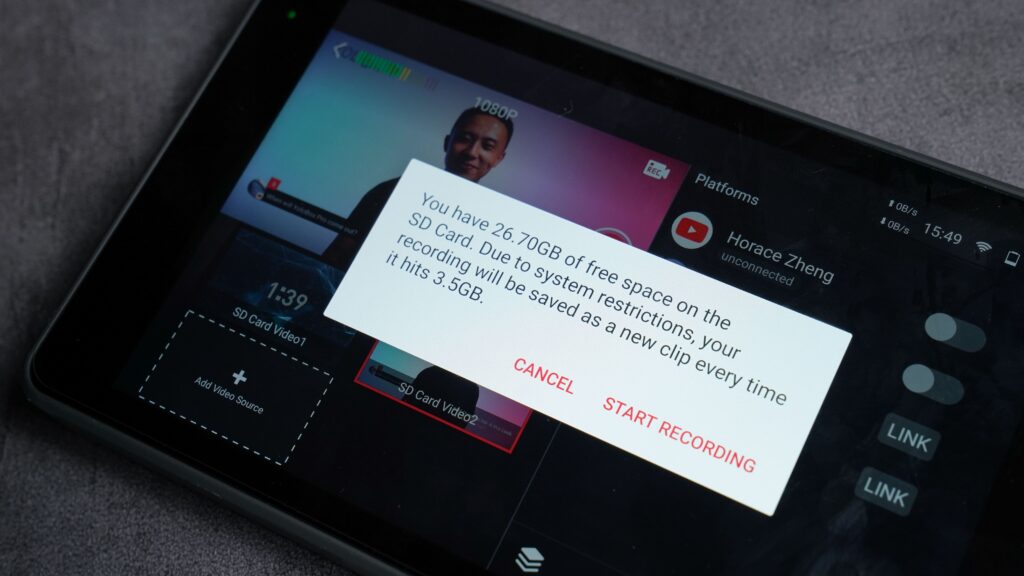
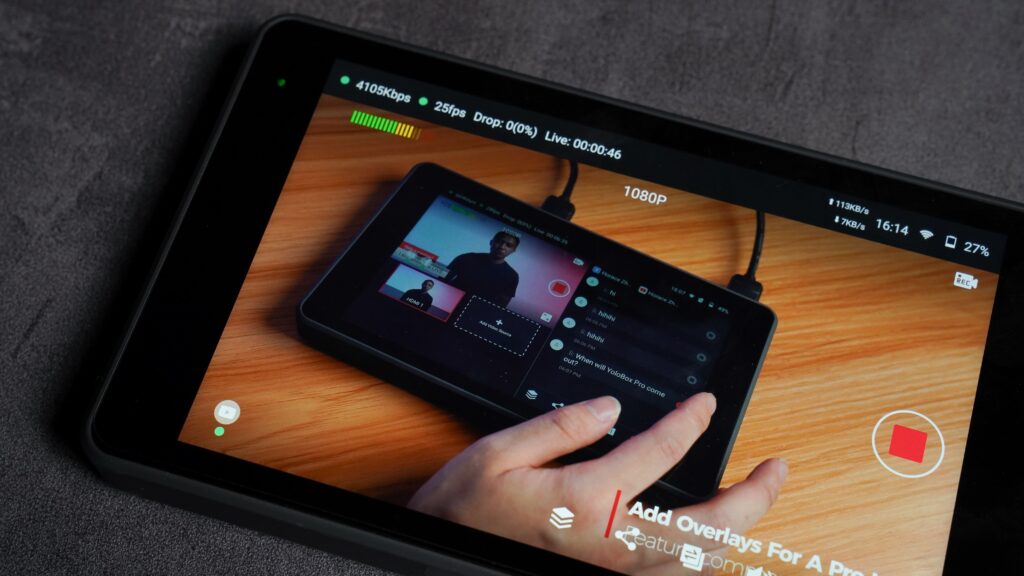
Tap on the “Go Live” button whenever you feel it’s ready. You can also record the live stream to the SD card inserted in the YoloBox by tapping on the camera icon on the upper right corner.
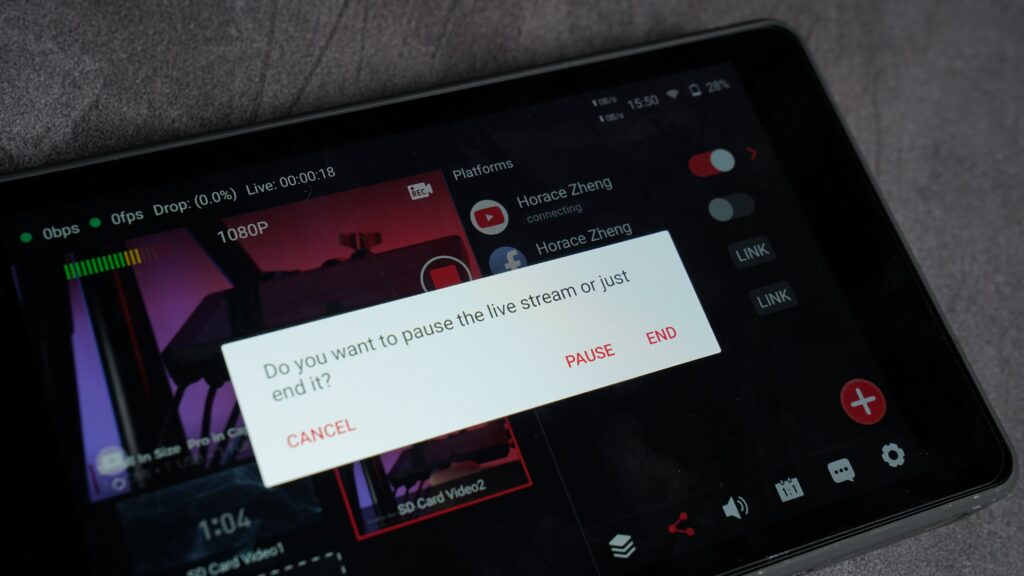
To end the live stream, simply tap on the “Go Live” button again. Voila, you have just done a live stream!
Pro Tips for Live Streaming
- Live streaming requires lots of prep work. Checking that you have enough power, testing the connection speed, and checking the sound should be part of every live stream preparation process.
- Test live stream to the destination where you want your audiences to see. You will learn whether your bitrate is sufficient, how the picture looks, how you sound, and this will give you a chance to make tweaks.
- There are other important elements for a great live stream, such as having a nice set and good lighting, testing other live streaming gears and accessories to make sure it’s working properly.
There are numerous complete reviews about YoloBox and YoloBox Pro in the past year, check them out to learn what YoloBox & Pro are capable of and how it helps you with your live streaming.
If you have other questions not covered here, free free to check the 2 links below about YoloBox & YoloBox FAQs which cover most of the FAQs about setup, live streaming and more.
To learn the feature updates of YoloBox and YoloBox Pro in the past, be sure to check out this post for past version history.

As product operation manager at YoloLiv, Esther and her team stay focused on our customers’ needs and constantly push forward new updates for YoloBox and Pro. Also, she contributed some blog posts from perspectives on how to enhance live streaming experience, live streaming sop for newbies, and more.

