Vertical video is on the rise – and brands can’t afford to ignore it much longer! Investing time in vertical videos is something you’ll never regret.
If you’re new to vertical videos and ready to get started to jump on this trend. Read on!
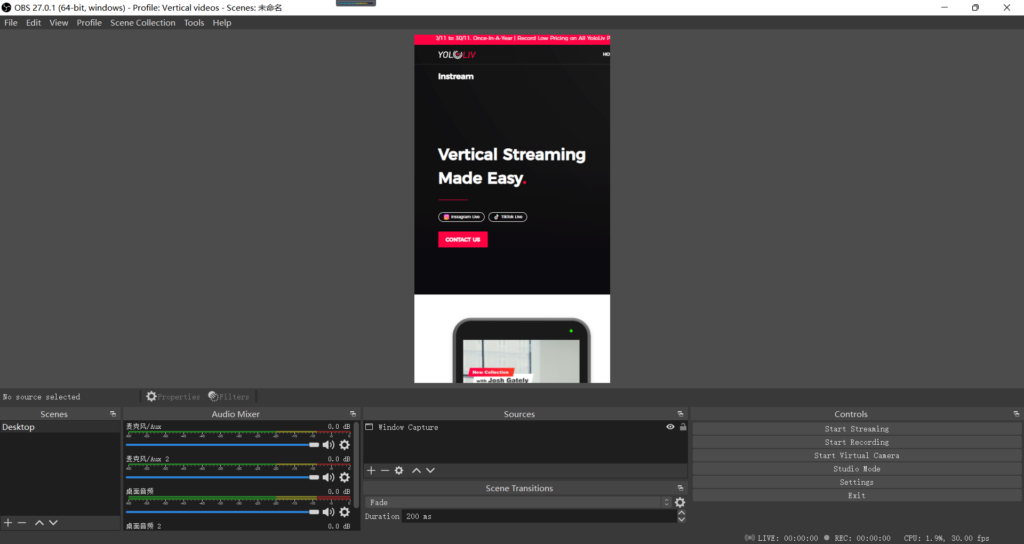
We’re going to be showing you how you could actually record vertical videos directly from OBS so if you’re going to be uploading to platforms like TikTok, Instagram Snapchat, or even YouTube shorts you know that it’s in a vertical video format so basically it’s going to look something like this instead of being your normal widescreen 16×9.
Here are 4 easy steps to create vertical videos in OBS.
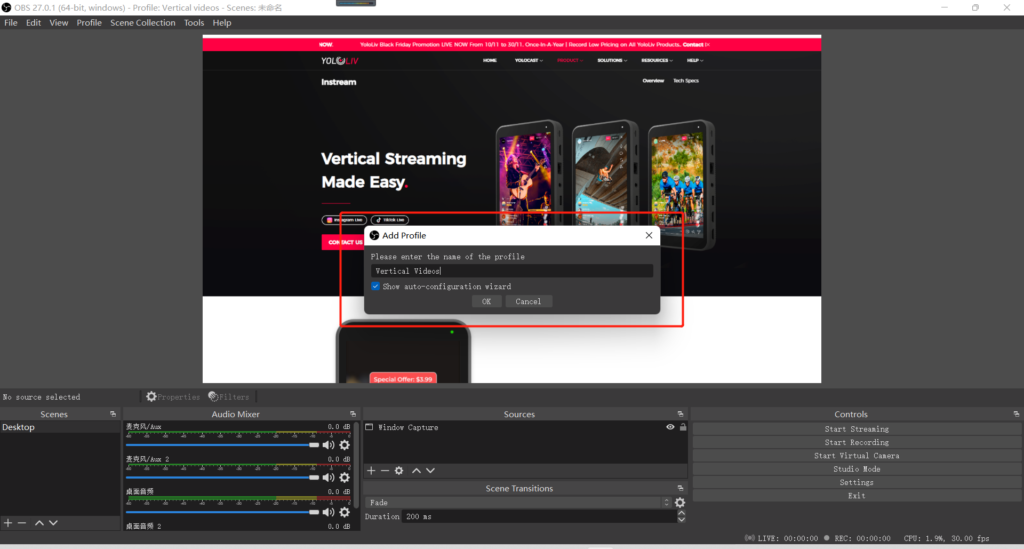
Step 1 Create a new profile specifically for vertical videos. Go to “Profile” > “Add Profile” > Create a name for the profile.
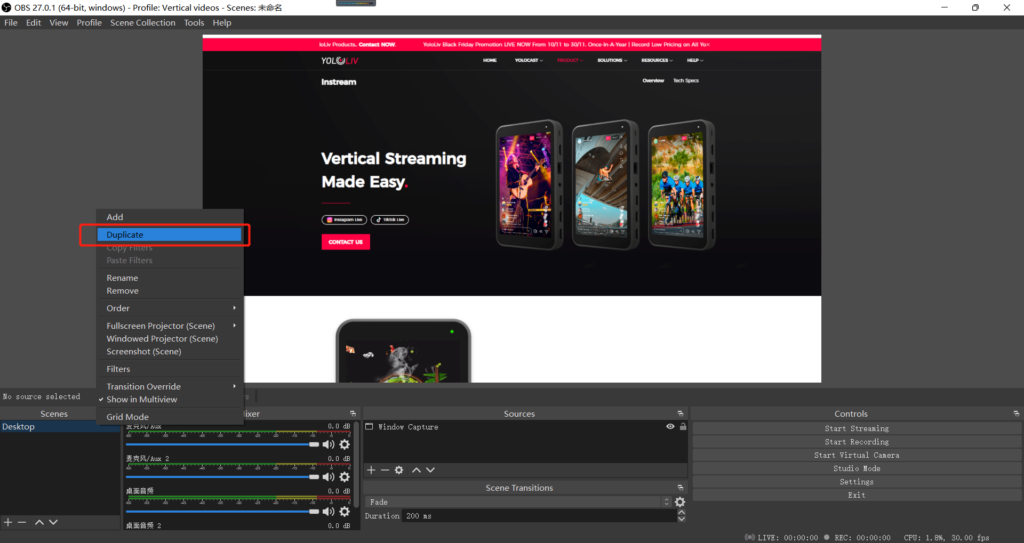
Step 2 Duplicate your scene for vertical format. Simply right-click the Scene, and choose “Duplicate”.
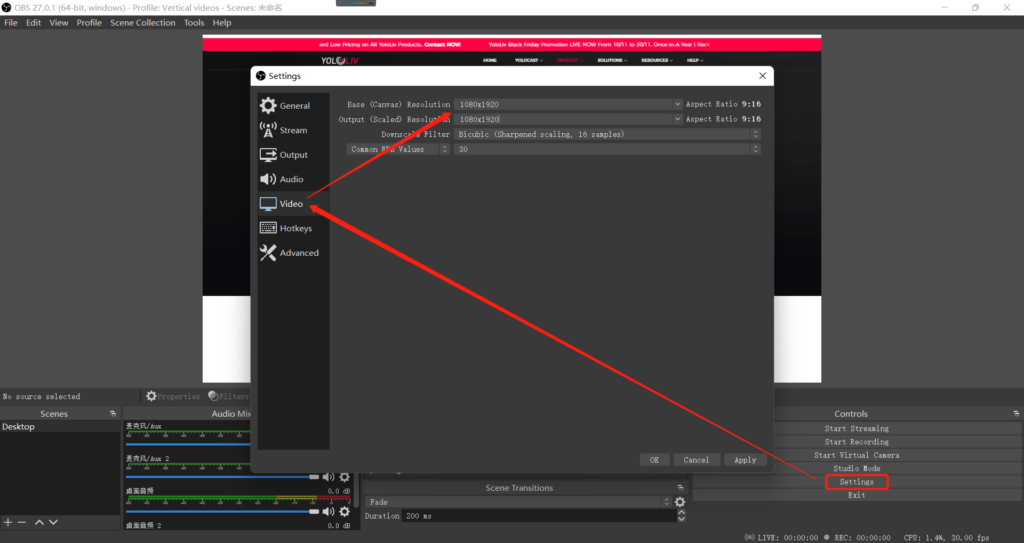
Step 3 Adjust the Video Resolution to Vertical Format. Navigate to “Settings” and select “Video”. While OBS offers options based on your graphics card and monitor, you can manually change these settings. For a vertical video, set both the Base Resolution and Output Resolution to the opposite of 1920×1080. Then, apply the settings.
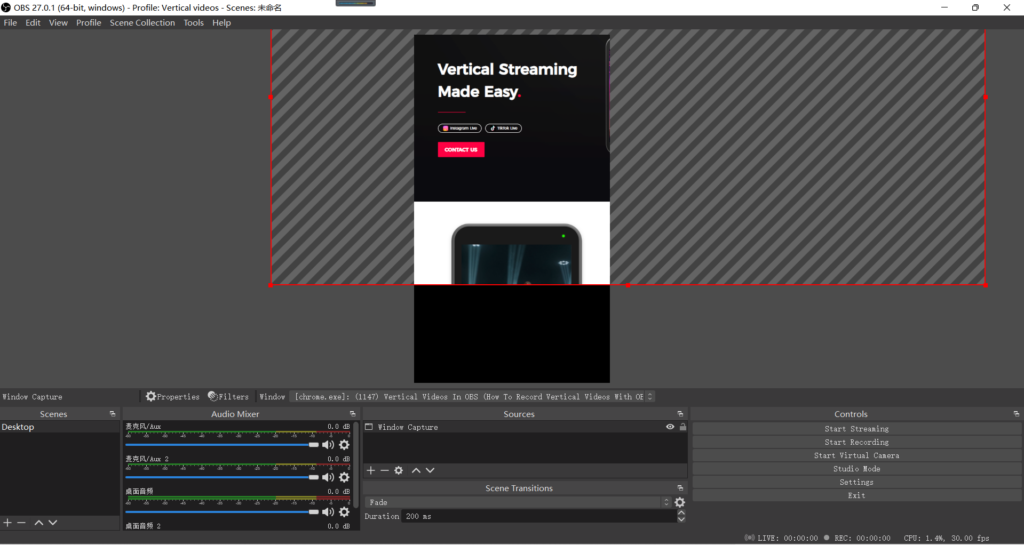
Step 4 Adapt scenes to vertical format. Once the video settings are applied, you will see some parts of the video source are cut off. Do a little drag-and-move to make the vertical videos look right.
Or the easy way with Instream – The First & Only ALL-IN-ONE MULTICAM VERTICAL Live Streaming Studio by YoloLiv. You can stream, switch and record vertical videos all in one.
To know more about vertical content creation or Instream, please join YoloLiv Facebook Community.

As product operation manager at YoloLiv, Esther and her team stay focused on our customers’ needs and constantly push forward new updates for YoloBox and Pro. Also, she contributed some blog posts from perspectives on how to enhance live streaming experience, live streaming sop for newbies, and more.