This blog gives you a step-by-step guide on how to connect your Facebook, YouTube, Twitch account, or any RTMP platforms on YoloBox Pro.
Please update your device to the current latest version v4.0.6 and follow this guide to add destinations.
Connecting Facebook on YoloBox Pro
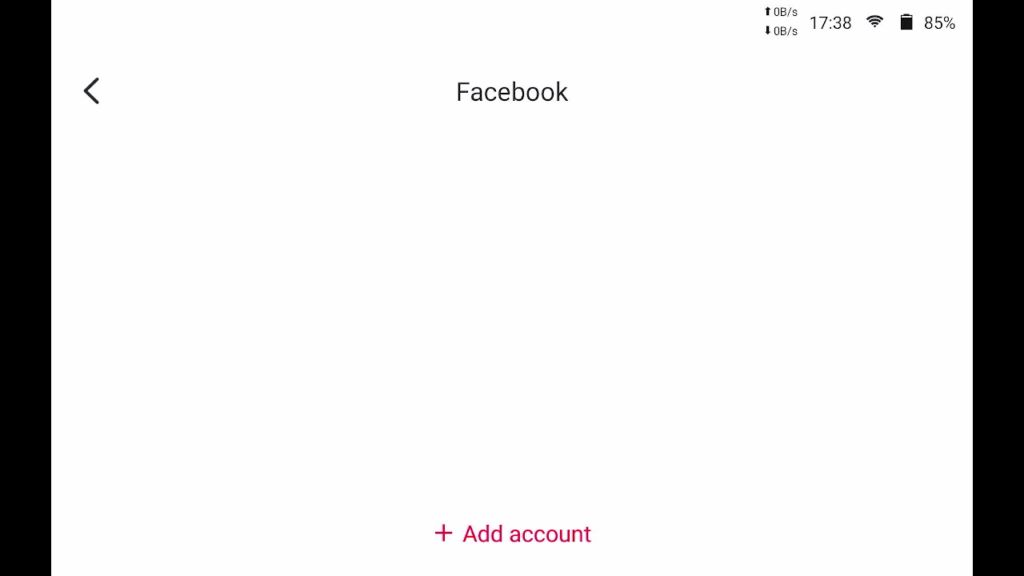
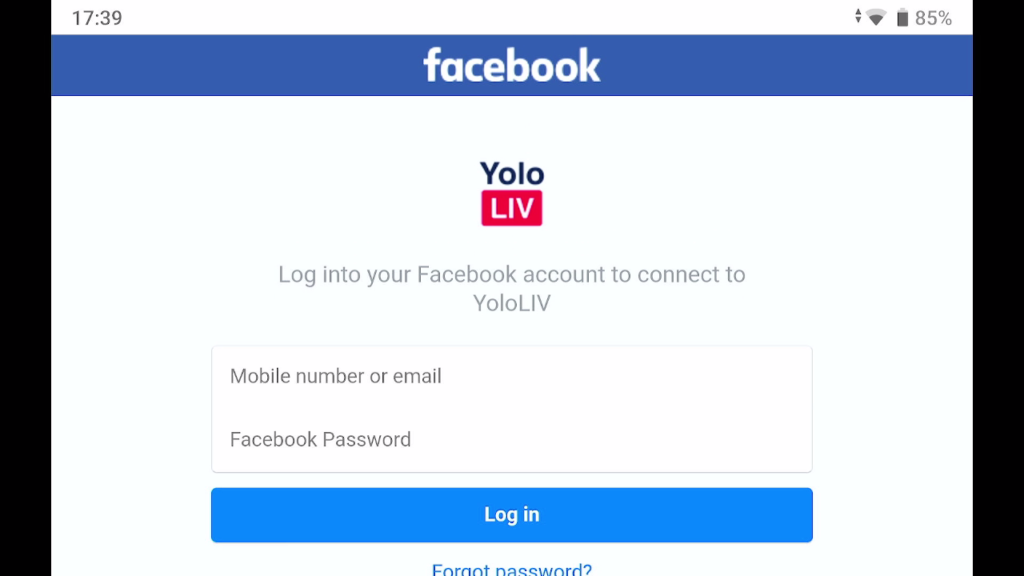
To connect to the Facebook account, click the Facebook icon on the list and then click the Add button. You would first see the login page to enter your username and password. Login and you would enter the next step.
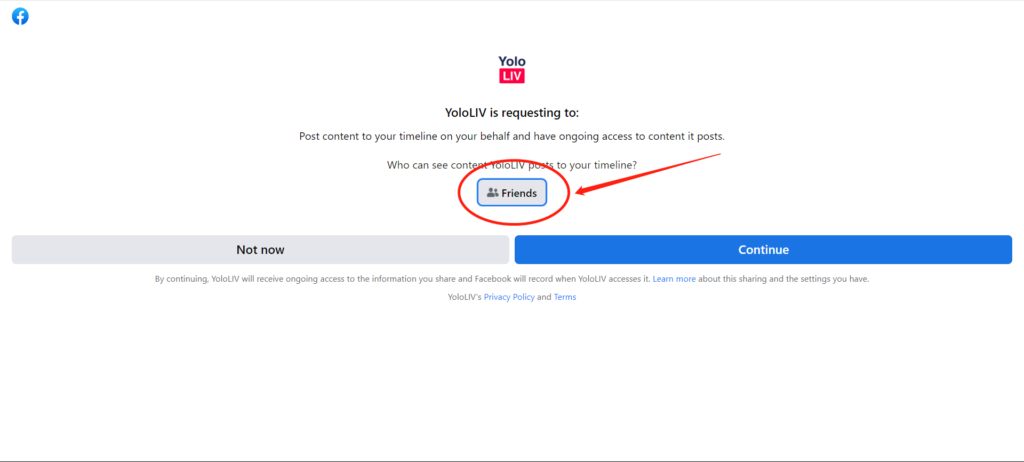
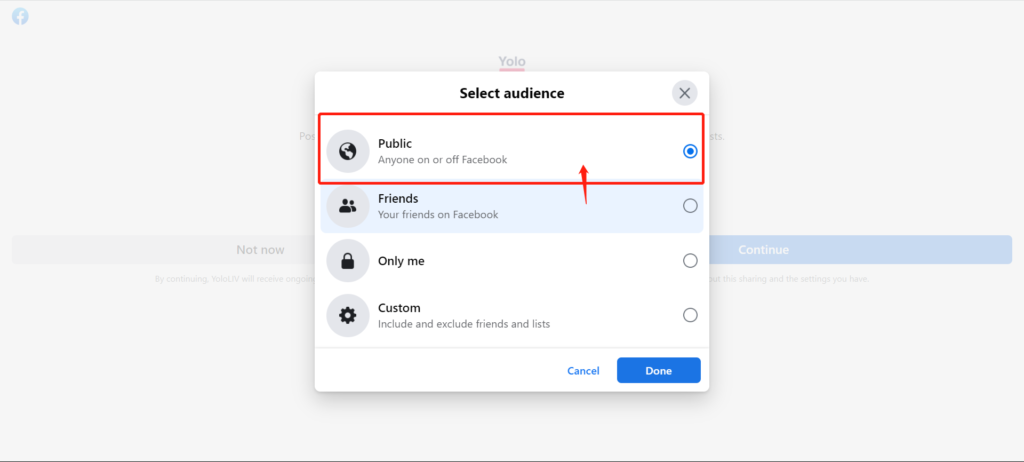
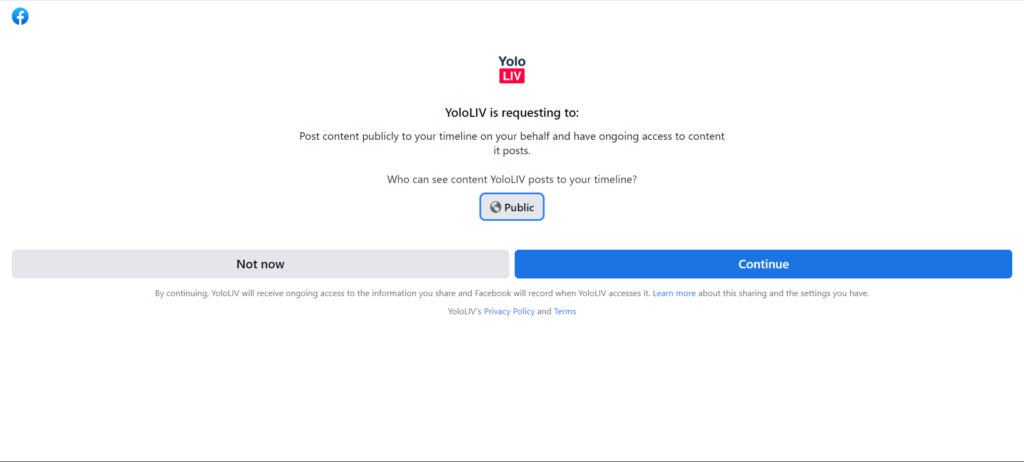
On the Authority page, when asked Who can see content YoloLiv posts to your Timeline? Be sure to select Public. This gives YoloLiv permission to post the live stream on your Facebook Timeline or the timeline of any pages you manage.
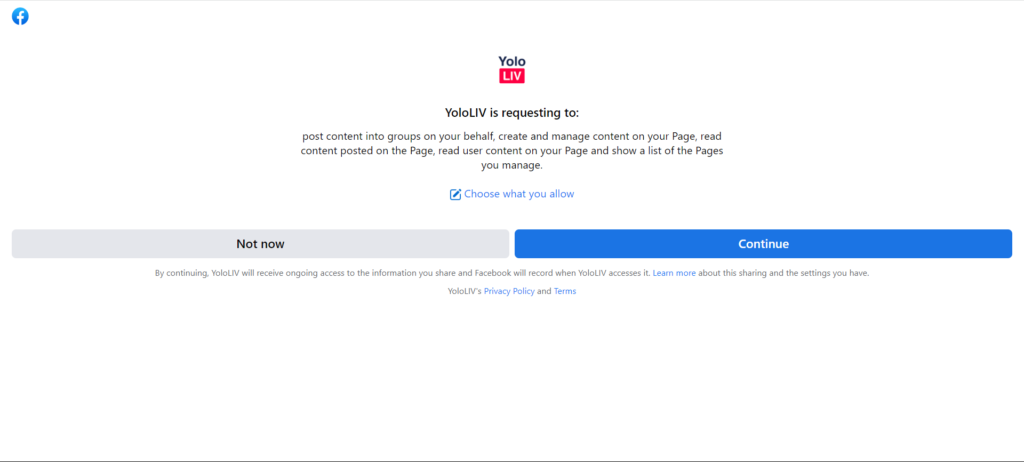
After you change the public option, click continue to enter the final page. You can check the authorized options by clicking on “Choose what you allow“. When you are ready, click “Continue”, and then the process would finish in seconds.
Connecting YouTube on YoloBox Pro
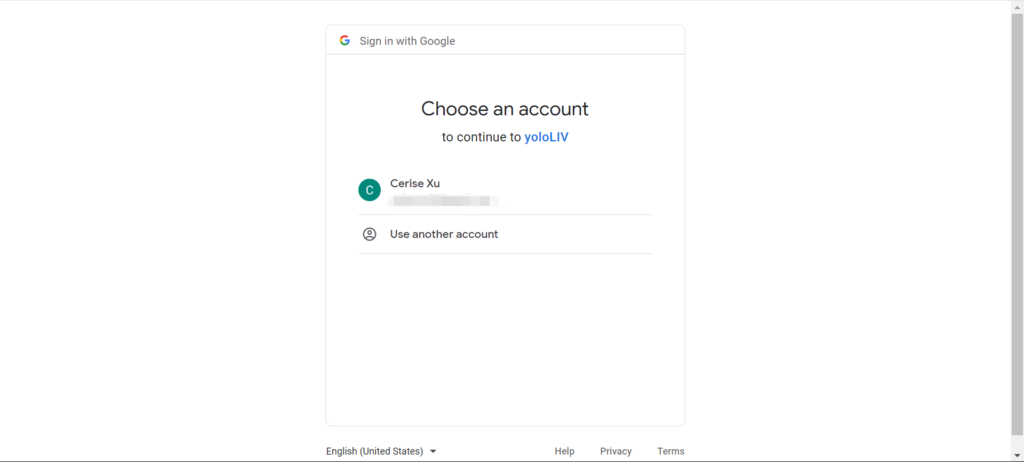
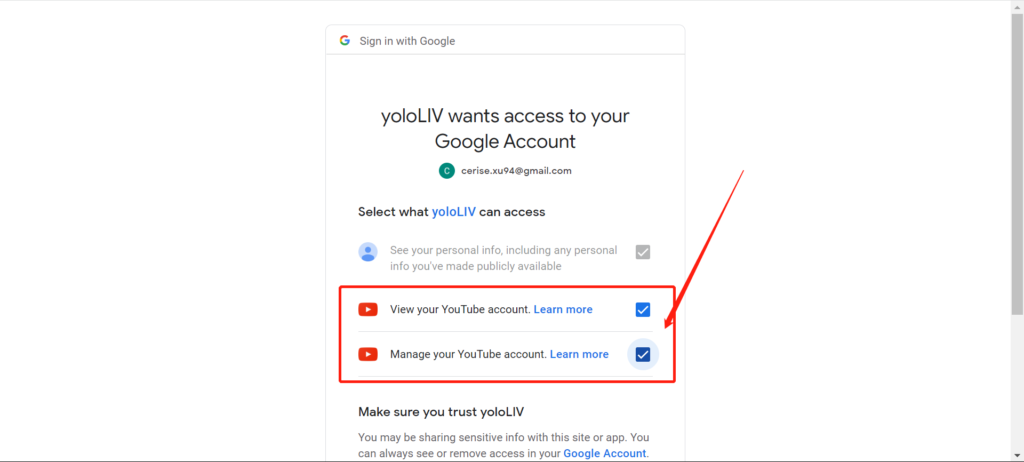
Choose a Google account you like to connect to. Follow Google’s prompts in choosing your account, granting YoloLiv permission to use the account. Make sure all checkboxes are ticked, and then click “Continue”.
Connecting Twitch on YoloBox Pro
Twitch is easy to connect. You only need one step to finish the connection. Click the Add Account button and log in with your username and password, you would see this page. Drag down to the bottom and click “Authorize” and you are done using it.

Adding RTMPs on YoloBox Pro
You cannot add RTMP destinations directly on YoloBox Pro. You could use our cloud platform YoloCast to add, which is easy, fast and totally free to simply add destinations. Tap on “RTMP(S)“, then you will see the “Add Streaming Destinations” page. Click on the “Send the Link” button to continue.
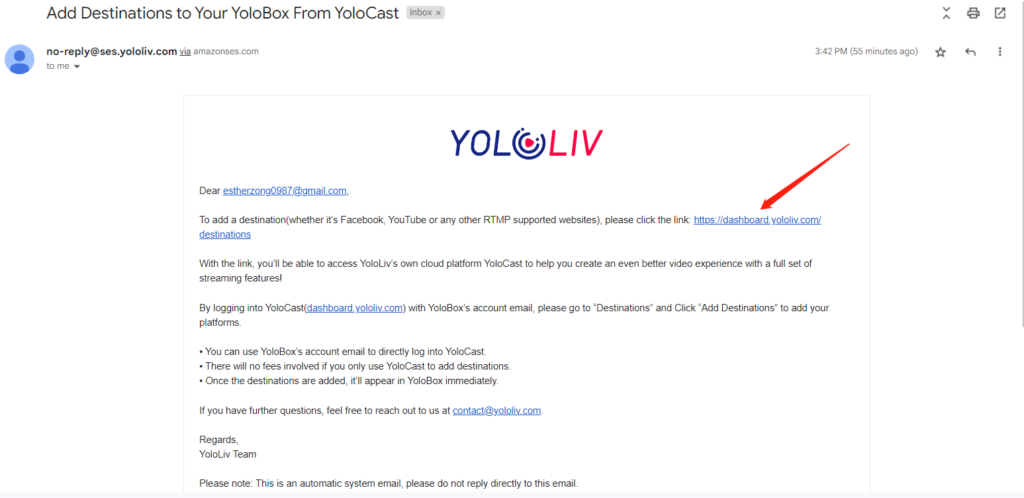
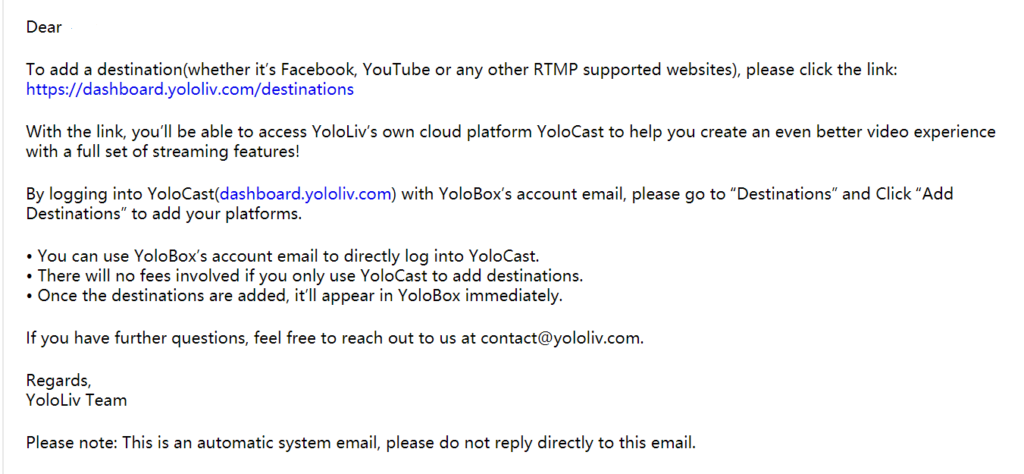
Once you click the button on the YoloBox Pro, you’ll receive an email automatically sent by YoloLiv to follow to add the RTMP destination on YoloCast.
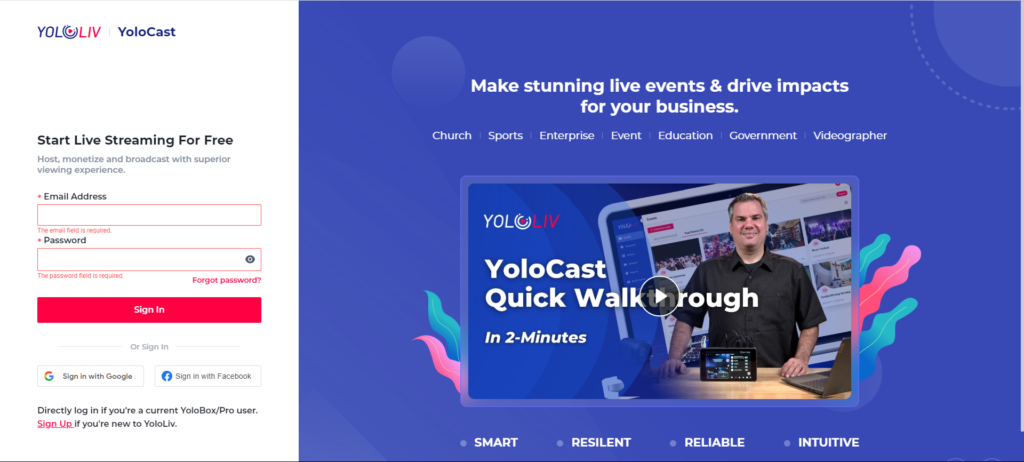
After you click the link in the email, you will be redirected to this page. Use your YoloBox Pro account and password to log in.
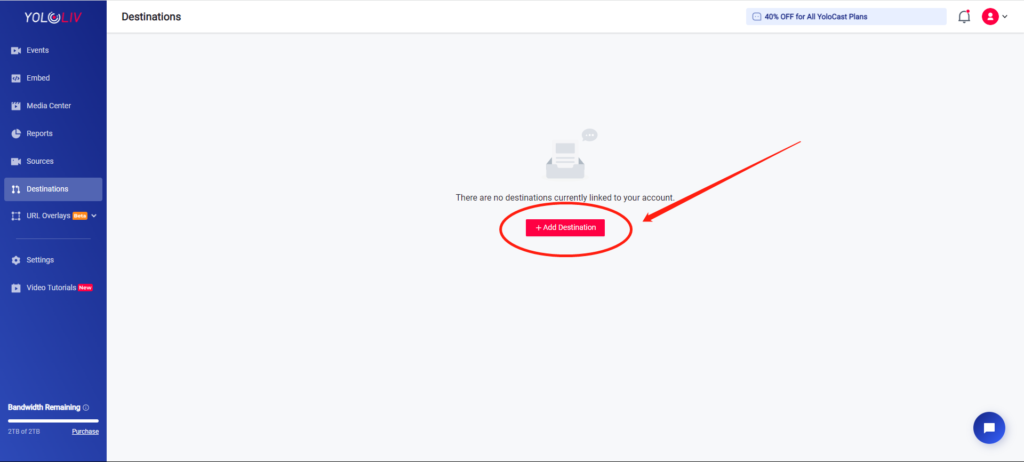
Once you logged into YoloCast, you will be redirected to the Destination page. Click the “+Add Destinations” button and choose a platform you want to connect to.

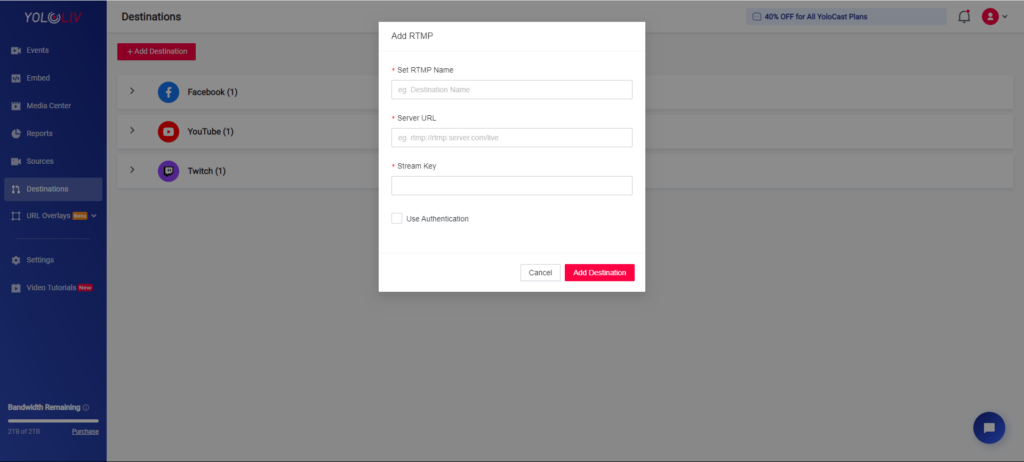
If you want to add your own RTMP destination, click the RTMP button to enter this page. Provide the RTMP destination a name and inset the Server URL (or RTMP URL) and Stream Key (provided by whichever platform you like to stream to, e.g. YouTube), and then click Add Destination when done.
To make adding streaming destinations much easier, you can also just log in YoloCast > “Destinations” tab > Add a destination you want to stream to, and follow the steps above to connect the accounts.
Common Questions about Adding RTMPs on YoloCast
1. Do I have to pay to use YoloCast?
No. Adding platforms on YoloCast is totally free, you do not need to pay anything to use it. To use other features requires a subscription. Click to see the YoloCast pricing: https://www.yololiv.com/compare-plans
2. How many RTMPs can I add on YoloCast?
There is no limit. You can add as many as you like on YoloCast.
3. What to do next after adding RTMPs on YoloCast?
Once the RTMPs are added successfully on YoloCast, they will sync on YoloBox Pro almost immediately. If not, exit the live stream event on YoloBox Pro and re-enter it.
Cerise is a support specialist at YoloLiv with three years of experience working as a Customer Support Specialist in the consumer electronics industry. She also produces articles including video productions, tips and tricks and expert knowledge in the audiovisual industry.

