")
As you probably know, the YoloCam S3 is a 4K webcam built specifically for live streaming. It’s compact, lightweight, and plug-and-play.
When paired with the Compose App, you can adjust focus modes, exposure, white balance, and color settings to fine-tune your live video for a more professional look.
Of course, while it’s commonly used connected to a computer, the YoloCam S3 also works seamlessly with YoloBox, especially the YoloBox Ultra and YoloBox Extreme, letting you fully take advantage of 4K quality.
In fact, with YoloBox Extreme v2.2.0, you can now access Camera Settings for both S3 and S7 cameras. This gives you most of the Compose App’s functions right on the YoloBox, so you can adjust key parameters without needing a computer.
A common question I get is: how many YoloCam S3 cameras can a YoloBox support?
Both USB-C, USB-A, and HDMI IN ports support S3 video input. So the maximum number of S3 cameras you can connect really depends on how many of these ports your YoloBox model has.
Camera Positions
In our weekly live streams, we usually use three YoloCam S3 cameras. One acts as the main camera, capturing a front-facing, medium-close shot—basically the view you see of me right now.
The other two serve as secondary cameras, showing close-ups, different angles, side profiles when the subject isn’t looking at the camera, a full view of our behind-the-scenes setup, or even hand movements and other details.
For the main camera, space is limited in our studio, and we also have a monitor in front of the desk. A traditional tripod just wouldn’t fit, so we use a multi-functional swing arm mount that clamps to the edge of the desk.
The S3’s tripod head mounts directly onto the arm, and by adjusting the arm’s direction, we can rotate the camera 360°—which saves space and allows for quick, precise framing.
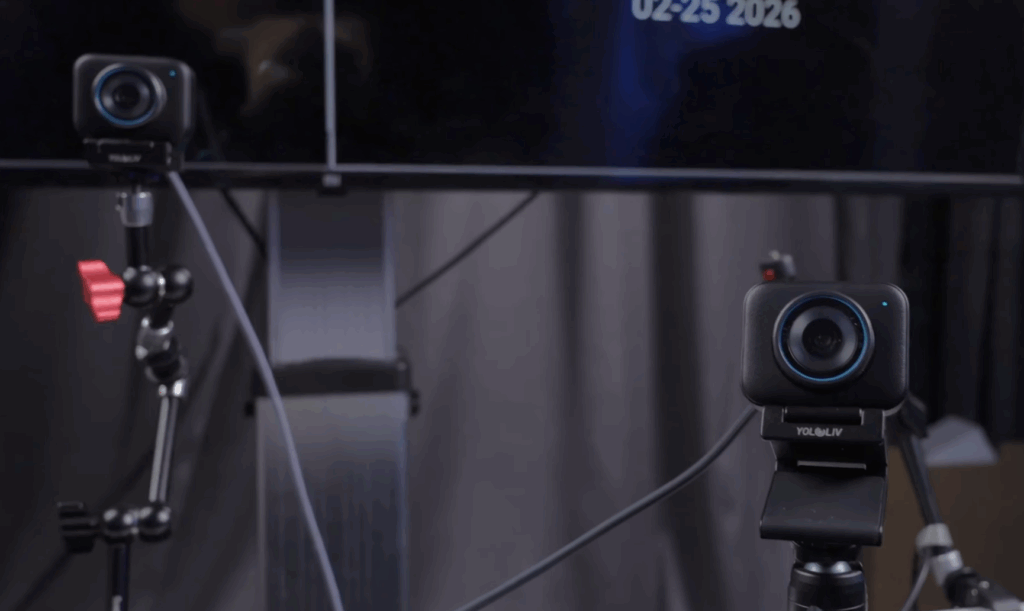
The secondary side-angle cameras usually sit on small desktop tripods, positioned about 45° to the left or right of the main camera to capture a natural side view.
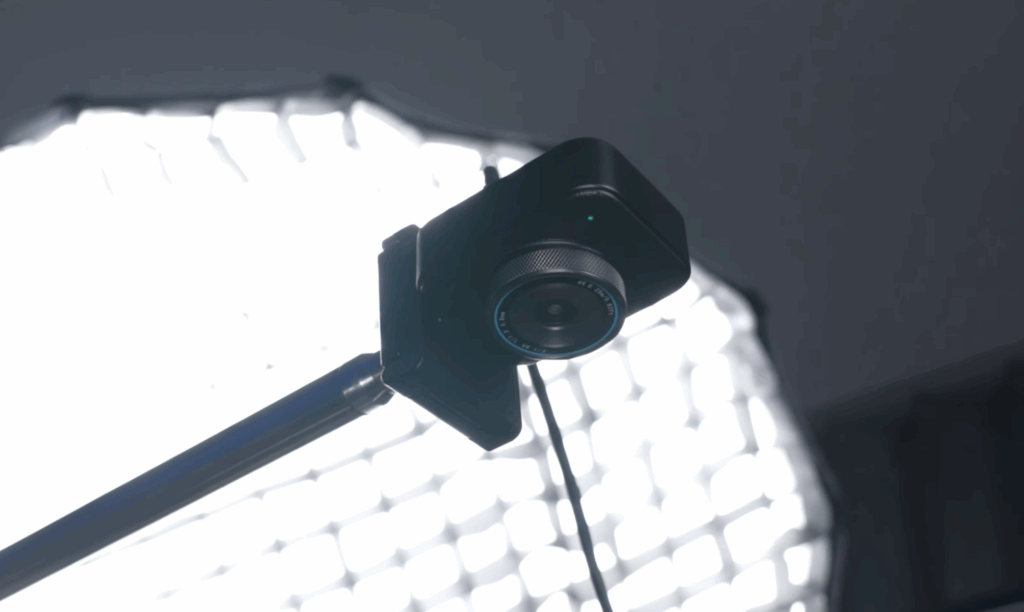
In some of our earlier streams, we also used a vertical overhead camera to show the YoloBox interface in action. This setup is a bit special—it uses an L-shaped metal stand, with the S3 or S7 tripod head mounted to the screw port.
Connection Methods
The most common method is direct USB connection.
Make sure you use a USB 3.0 C-to-C or C-to-A cable and plug the camera straight into the YoloBox’s USB port—this will provide the video signal. If your cable isn’t USB 3.0, the Extreme will show a warning.
For those who need longer cable runs, you can use a USB-to-HDMI converter and an HDMI cable. Connect the camera to the converter, then run an HDMI cable from the converter into the YoloBox’s HDMI IN port.
One important note: HDMI input does not support Camera Settings on the YoloBox Extreme—only USB input allows you to adjust camera parameters directly on the device.
Camera Settings
In the latest version, YoloBox Extreme now supports Camera Settings for both the YoloCam S3 and S7. Other YoloBox models don’t have this feature yet.
Basically, you can think of Camera Settings on the Extreme as the Compose App built right into the device.
Its functions and updates are synced with Compose App—but keep in mind, the color grading features from Compose App are still not available in Camera Settings.
To access it, just tap the gear icon in the top-right corner of the S3 Source, and the Camera Settings menu will open.
Here, you can tweak your image parameters like sharpness, contrast, and saturation, switch between different focus modes, adjust Anti-Flicker and EV in Auto Exposure, or fine-tune ISO, shutter, and DR in Manual Exposure.
You can also set White Balance and update your firmware. In the bottom-left corner, you can save preset configurations, and you can even control PTZ and Zoom directly.
Once you’re done, just tap the exit button in the top-left to save and close. The workflow is intuitive, smooth, and super convenient.
If you feel the colors could use a little more punch, you can take it a step further with LUTs for richer color grading.
It’s simple—just import a .cube LUT file via SD card or SSD, tap the gear icon again to open the LUT menu, select your file, and enable it.
You’ll instantly see the LUT applied in the preview window on the left, so you can adjust and confirm in real-time.
3,095 total views, 19 views today