If you have instances to do remote video productions, and you happen to have 2 units of YoloBoxes or YoloBox Pros or YoloBox Ultras, then this blog post will be very helpful to you. Read on to see how to do that with 2 YoloBoxes/YoloBox Pros/YoloBox Ultras.
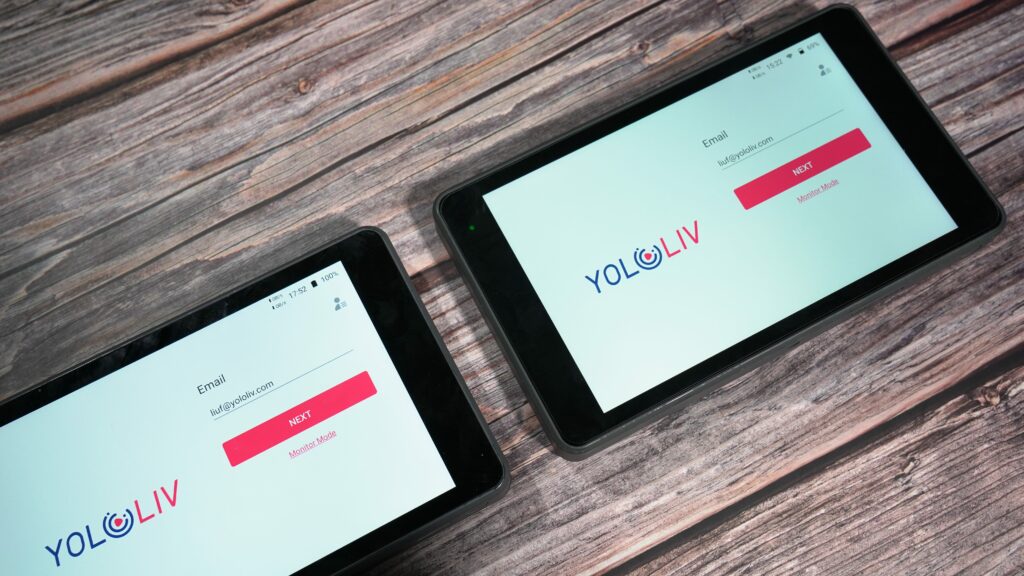
Step 1. Log into the same account on the two units of YoloBox or YoloBox Pro
Note: You don’t have to connect to the same network, which makes it especially suitable for remote live productions.

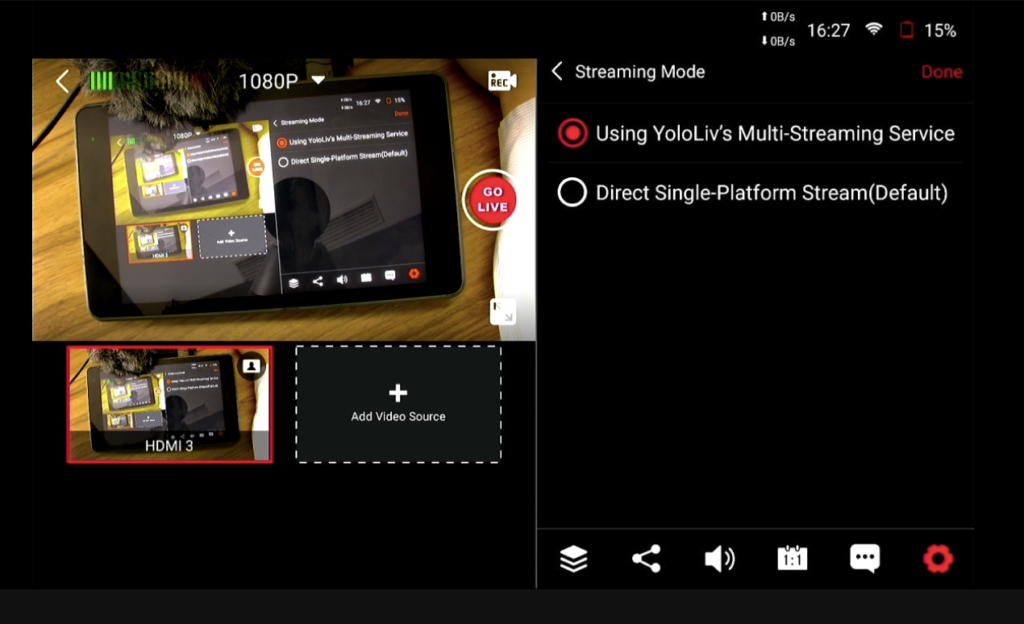
Step 2. Create a live stream on the first YoloBox/YoloBox pro > set the Streaming Mode to “Using YoloLiv’s Multi-Streaming Service” > GO LIVE.

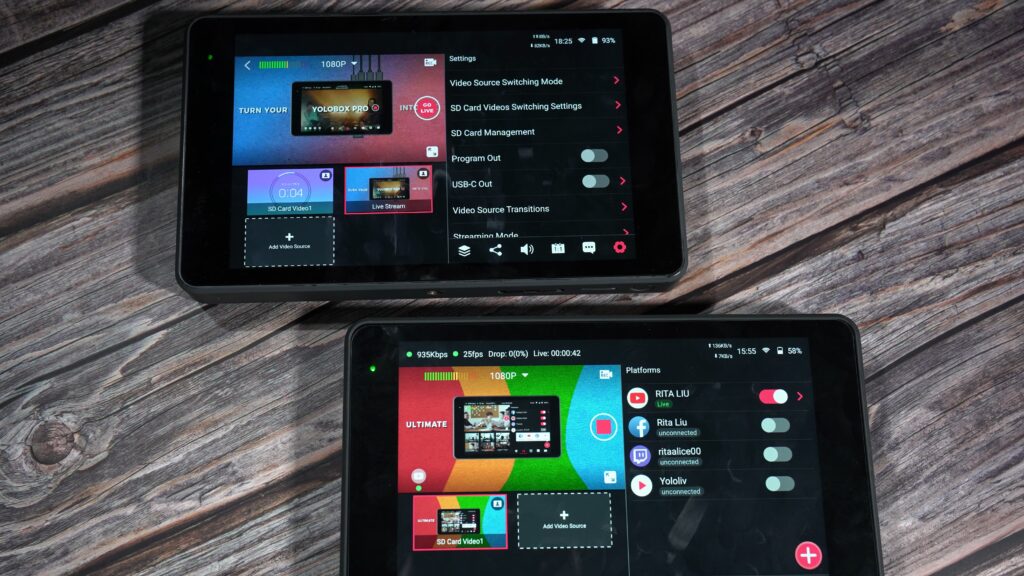
Step 3. Add “Live stream” as Video Source on the 2nd YoloBox/YoloBox Pro
- One your 2nd YoloBox/YoloBox Pro you will see the same live stream created on the 1st YoloBox/YoloBox Pro as they are logged in the same account.
- Create a different live stream on the 2nd YoloBox/YoloBox Pro > Add video sources > Select “Live Stream ” under Video Source> Add the live stream on the first YoloBox /YoloBox Pro, then go live.
”LiveStream” is an RTMP Pull source, meaning to pull the video from the other YoloBox/YoloBox Pro and add it to this YoloBox Pro as video source. This is mainly made for remote production.
Step 4. That’s how to add “Live stream” as video sources by using two YoloBoxes/YoloBox Pros. You can continue to add other video sources like SD Card videos, HDMI sources, USB sources, etc.

Video tutorla on how to use live stream as source made by Robert Hamm
18,947 total views, 27 views today

As a support specialist at YoloLiv, troubleshooting and resolving issues from customers is her daily routine. Whenever there is an issue, that’s the time Rita shows up. She analyzes and combs through questions, issues and requests from customers and make contents that are very practical for your live streaming.


