")
Charging issues are something a lot of users run into. Usually, the device either stays black or keeps flashing the YoloLiv logo, but you might notice the little indicator lights around the corners are still on.
Correct Charging Method
Using the right charger is really important. Every YoloBox needs 5V 3A output, and you can usually check your charger to make sure it meets that. There are so many chargers out there—some charge really fast, some are big and powerful, some even have multiple smart ports—but the key thing is whether it can actually deliver 5V 3A.
A lot of users see a big power adapter and assume it will work with YoloBox, but you still need to check the output on each adapter because sometimes even a “strong” charger isn’t enough. You especially want to watch out for multi-port adapters, because each port has a maximum output. You need to make sure you’re looking at the output per port, not just the total output, and each port needs to support 5V 3A. Sometimes a multi-port device claims 5V 3A, but if you’re charging two devices at the same time, the power can get split and none of the ports will actually reach 5V 3A.
From talking with a lot of users, we’ve also noticed that many people consider using Apple’s original chargers, but most of them only output 5V 1A or 5V 2A, which still isn’t enough for a YoloBox. Since YoloBox has a built-in battery, you can also use an external battery for outdoor streaming, but again, make sure it can deliver 5V 3A.
You also need to pay attention to the charger’s wattage. YoloBox Ultra and Extreme are a little different from the other models—they need at least 45W, while other YoloBox models just need 15W or more. For Ultra and Extreme, we also recommend using a PD charger. For the cable, make sure you’re using a Type-C to Type-C cable, not A to C, and plug it into the YoloBox’s Type-C charging port, not the data port next to it. Charge for one to six hours, then long-press the power button to turn it on.
If after six hours your device is still black but the corner indicator lights are green, the built-in screen might be damaged. In that case, long-press the power button until the green light comes on, and then connect the YoloBox’s HDMI OUT to another monitor—here I’m using OBS on my computer. If you can see the normal interface there, that means the internal screen is probably broken. You can record a short video and send it as an attachment to our Contact email to get support.
Method for YoloBox Ultra
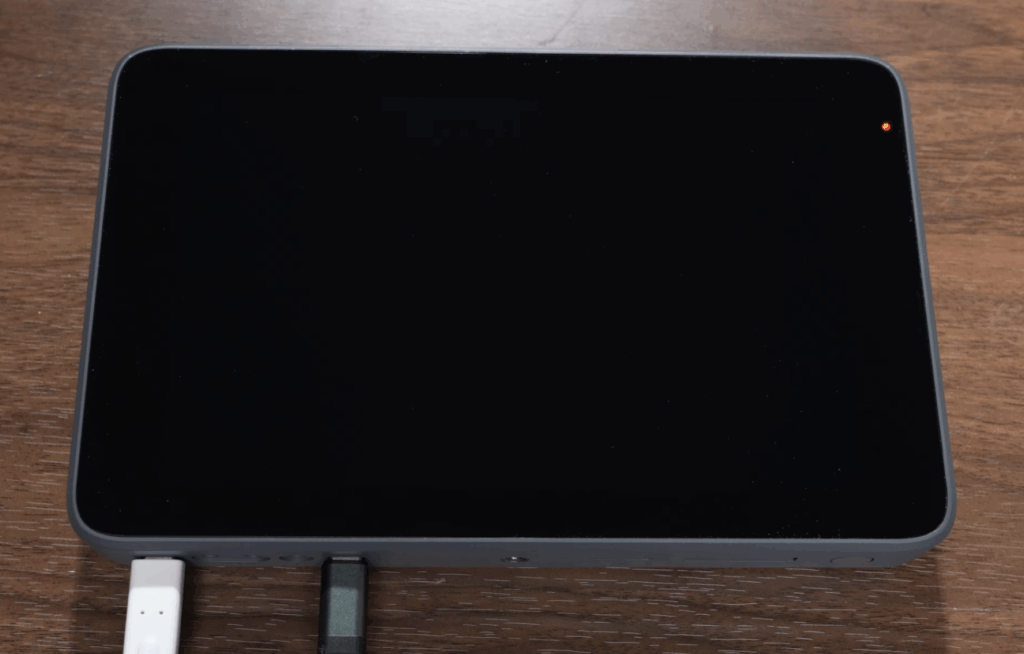
If you’re a YoloBox Ultra user and your device gets stuck on the flashing YoloLiv logo while charging, this usually means the battery is completely drained and doesn’t have enough power to start the system. When you’re using a proper charger and cable, the device will try to power on as soon as it gets a little bit of charge, but because it’s not enough, it ends up stuck in a loop of turning on and shutting down.
In this case, you can use a 45W or higher charger with a C to C cable in the device’s charging port, and then use another 45W or higher USB-C charger with a C to C cable in the other Type-C data port. Keep it charging like this for 15 to 30 minutes.
Once both power inputs provide enough stable charge to the battery, the device should stop getting stuck on the flashing logo and will turn on normally.
It’s important to note that this specific solution only works for the YoloBox Ultra.
If you’ve confirmed that your charging method is correct, the built-in screen isn’t damaged, but the device still won’t turn on, or if the indicator lights aren’t working or you see a battery logo with a question mark, please record a short video and send it as an attachment to our Contact email to get support.
1,857 total views, 27 views today