Your first car was not a Ferrari. If you’re just starting out with live selling then you don’t need the best gear available but you do need to make sure you have all of the tools necessary, both physical and digital in order to host a successful live selling event.
If you’re ready to move from simple streams on your phone to a more professional setup, then stick around as I walk you through how I build my live selling studio and a checklist of essential tools and gears. So let’s get started.
Your Room Studio
In order to put all your equipment & light, you will need a place to start building it into a studio. The room doesn’t have to be too big, it can be in your garage, or any corner in your own house. Now, you gonna need a desk and a chair to start with. If you want, you can add a bok shelf or any kinds of room decoration, or just put a green screen for the background.
Green Screen
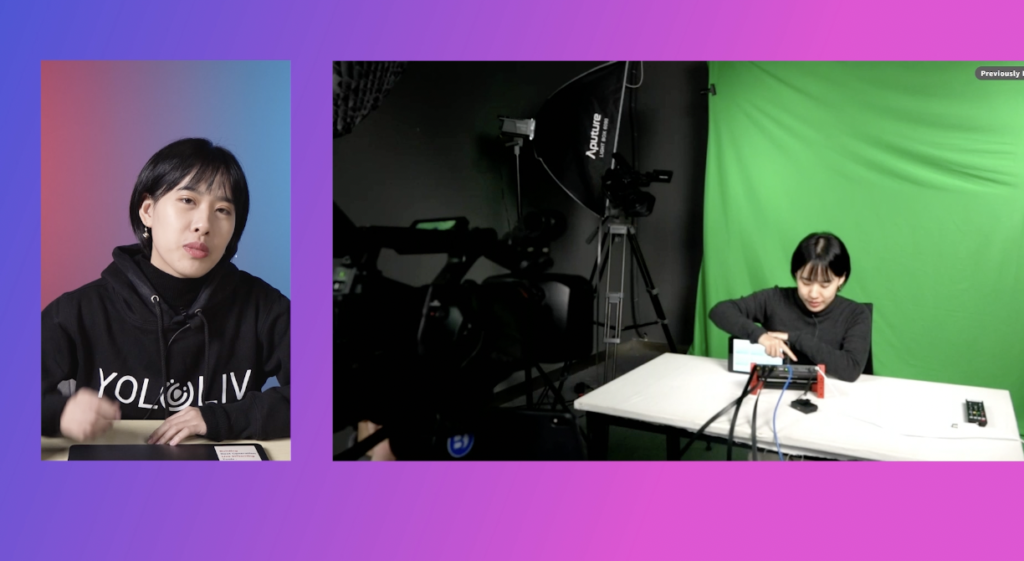
Speak of the green screen, If you want to sell online, but you don’t want to waste your time on building different backgrounds, green screen or blue screen can be your best choice. With YoloBox Pro and a green screen, you can remove your background color and replace it with a video or image background.
Lighting
Lighting is essential for your live streaming quality. Usually, any device that can emit light can become a tool for lighting, such as sunlight, light from a display screen, etc. If your studio can take advantage of these free lights, this will of course be an effective way to cut costs. But obviously, this light is uncontrollable. Therefore, you need lighting equipment.
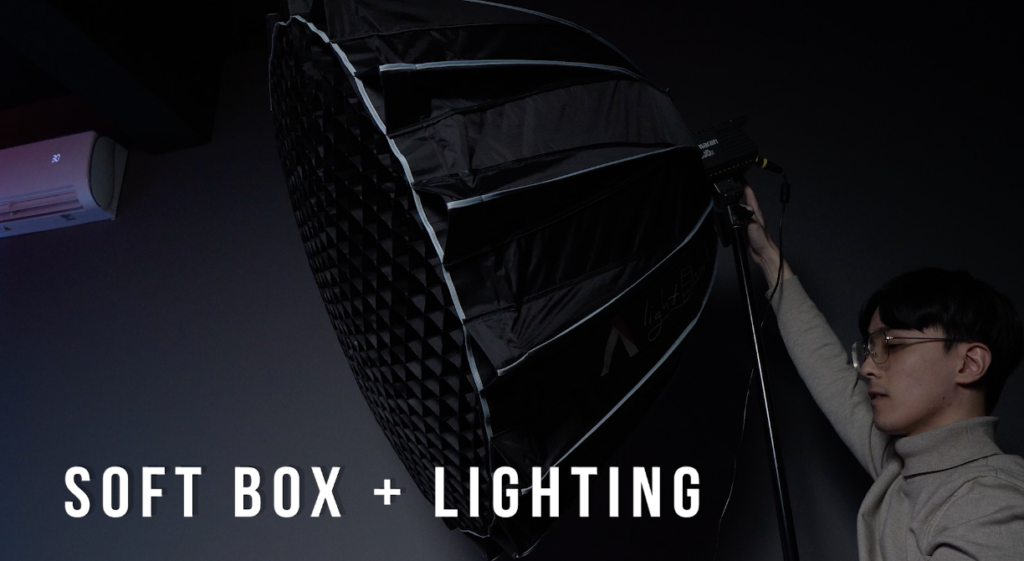
Next, Let’s see it in real case scenarios. The first is standard lightning, and you can see it causes shadows. Even after using two lamps, it is still not quite good enough.
Now, we use the spherical softbox lantern for lighting at this time, we will find that the softbox can provide some lighting for the environment while illuminating the main characters, so it is very suitable for a live selling room with a budget.
Cameras
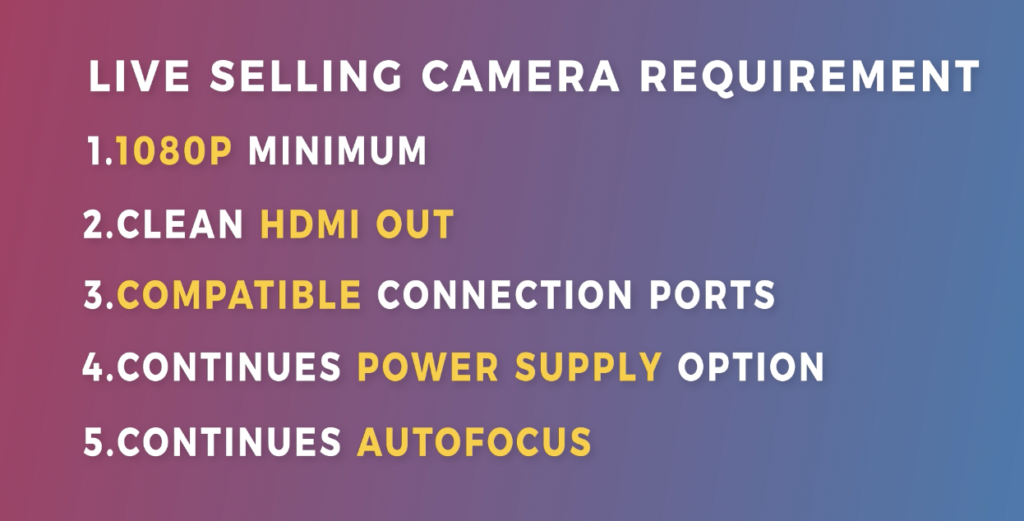
I got 2 cameras for a multi-cam live stream. One is a wide shot for the big picture, the other one provides a close shot angle for the product. Of course, you can also use one camera for live streaming, for camera selection, I recommend choosing according to your budget. But for live stream, you still need your camera to meet certain performance conditions.
1.1080P resolution(at a minimum)
2. Clean HDMI out
3. Compatible connection ports
4. Continuous power option
5. Continuous autofocus ( with face recognition will be best)
Microphone
So the next thing we’re going to talk about is your audio. Adding any mic, the Deity or Rode, to your camera is going to level up your mic a ton.
And let’s actually cut to an example. So, if you were recording videos likes I do, obviously that’s what you got from your camera recording with onboard mics. And then if we add the mic on my Sony camera. obviously, the audio source was picked up by the mic, which sounds a lot better.
I watch a lot of people on YouTube who are just using the onboard mics for the devices
they’re using. And it’s usually very echoey or they sound very far away, but there is a cheap way to kind of bring the audio right into the camera. Is adding a mic worth of sounding better? In my opinion, I think it is.
YoloBox Ultra
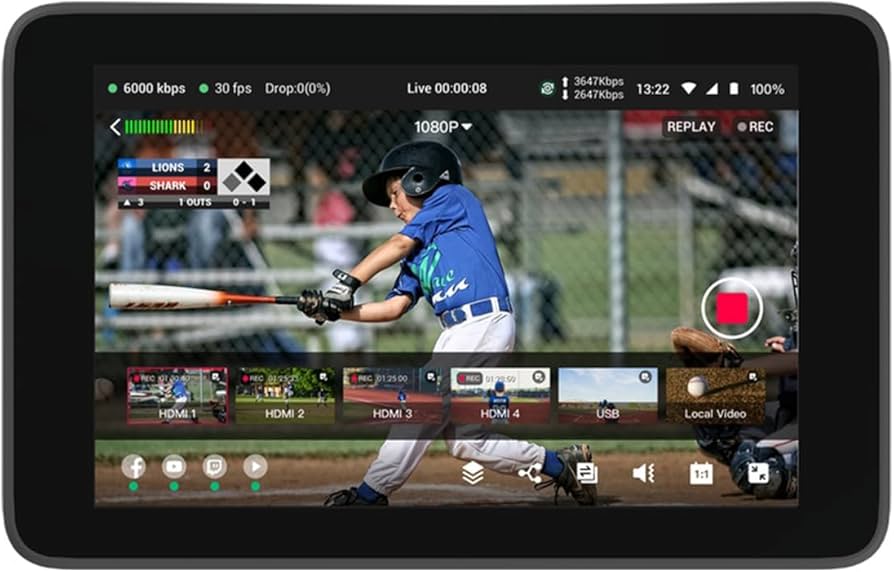
So you got your camera, you got your audio, you need a switcher and encoder to consolidate all the audio and video signals. This is what YoloBox Ultra can do. It’s a monitor, recorder, switcher, and encoder, all in one YoloBox Ultra.
- Multi-Source Compatibility: The YoloBox Ultra supports a variety of input sources, including HDMI, USB, and SD card, allowing users to integrate cameras, laptops, webcams, and pre-recorded media into their live streams or recordings.
- Advanced Streaming Protocols: It supports advanced streaming protocols like RTMP and RTSP, enabling users to pull live streams from online sources and incorporate them into their productions.
- User-Friendly Interface: The YoloBox Ultra comes with an intuitive interface that makes it easy for users to switch between sources, adjust audio levels, and apply transitions without the need for extensive technical knowledge.
- Customization and Automation: Users can customize the switcher to fit their specific needs, with options for automated scene transitions and user-defined presets for quick setup.
- Versatility in Productions: Whether for live streaming on platforms like TikTok or YouTube, recording lectures or presentations, or producing high-quality videos for corporate events, the YoloBox Ultra offers the tools needed to elevate any production.
- Portable Design: Despite its powerful features, the YoloBox Ultra is designed to be portable, making it an excellent choice for on-the-go content creators who need a reliable switcher for their live streams or video productions.
- 4K Capabilities: Unlike earlier models, YoloBox Ultra can accept 4K inputs and can record and stream in 4K, 1080p, 720p, and standard definition. This ensures your live streams are of the highest quality, offering a stunning visual experience for your audience.
- NDI and SRT Inputs: YoloBox Ultra supports NDI and SRT inputs, enhancing the flexibility for integrating remote video sources and ensuring high-quality, low-latency video transmission.
30,865 total views, 3 views today

Hanru is a marketing specialist at YoloLiv. She manages all the social media accounts, blog posts about the AV industry, and all the videos including product tutorials about YoloBox and YoloBox Pro.

