The YoloCam S3 has one of the largest sensors ever built into a webcam. Its 1/1.3-inch sensor captures significantly more light than standard webcam sensors. However, even the best sensor can only work with the light that is available.
Good lighting transforms your image. It makes your skin tones look natural, your background appear clean, and your overall presence feel polished and professional. Poor lighting, on the other hand, wastes everything the S3’s sensor has to offer.
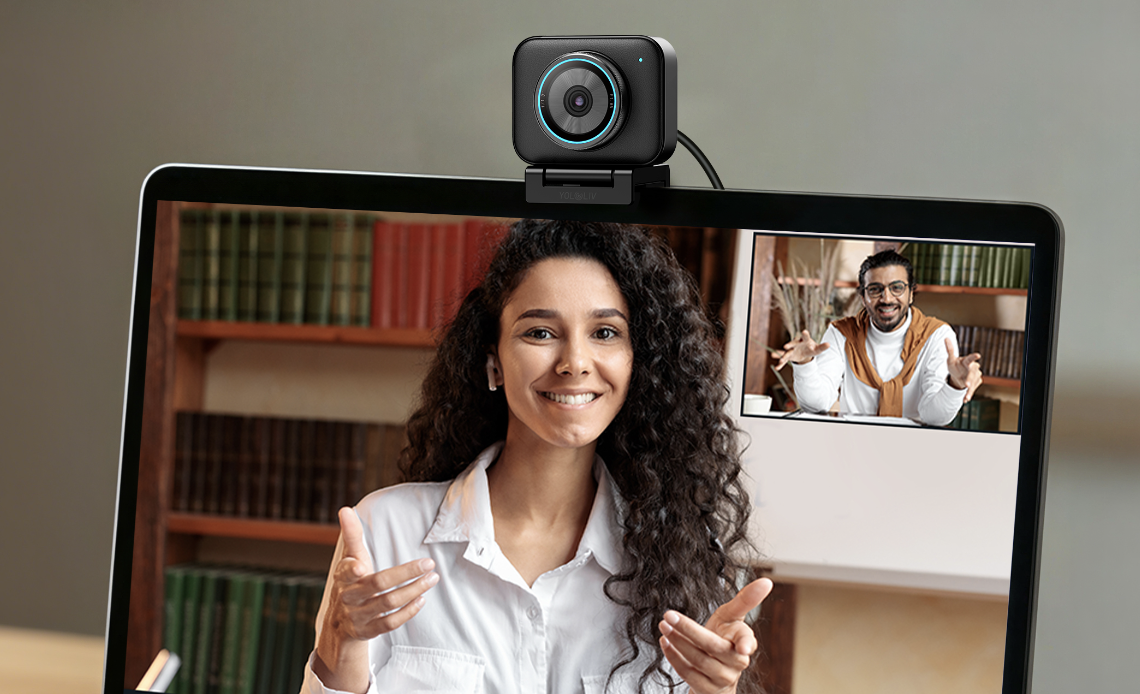
This guide walks you through every lighting option — from free natural solutions to professional studio setups — so you always look your best on camera.
Why Lighting Matters More Than Your Camera
Many creators upgrade their camera expecting a dramatic improvement. They are often surprised to find the result is disappointing. The reason is almost always lighting.
A great camera in bad light produces a mediocre image. A decent camera in great light produces a stunning one. Lighting is the single biggest variable in webcam image quality — more than resolution, sensor size, or autofocus.
YoloCam S3‘s large sensor gives you an advantage in low light. However, it still responds to the quality and direction of your light source. Understanding how to use light correctly unlocks the camera’s full potential.
The Three-Point Lighting System
Professional photography and video have used three-point lighting for decades. It is the foundation of any flattering on-camera image.
Key light — Your primary light source. This is the brightest light and defines how your face looks on camera. Position it slightly to one side, at roughly eye level or slightly above, angled toward your face.
Fill light — A softer, dimmer light on the opposite side. It reduces the harsh shadows created by the key light. Without a fill light, one side of your face appears much darker than the other.
Back light (or rim light) — Placed behind you and aimed at the back of your head or shoulders. It separates you from the background, adding depth and a professional studio look.
You do not need three dedicated light sources to apply this framework. In practice, a window, a desk lamp, and a slightly bright background can cover all three roles effectively.
Option 1: Natural Window Light (Free)
The simplest and often most flattering lighting setup costs nothing. A window provides soft, diffused natural light that renders skin tones beautifully.
How to use it: Face the window. Place your desk so the window is directly in front of you or slightly to one side. The light should fall on your face, not on the back of your head.
What to avoid: Do not sit with a window behind you. A bright background makes your face appear as a dark silhouette, even with the S3’s excellent dynamic range. The sensor handles backlighting well, but a window directly behind you is too strong for any camera to fully compensate.
On overcast days, diffused cloud cover creates exceptionally soft, even light. This is ideal for webcam video. Direct sunlight through a window creates harsh, unflattering shadows. A sheer curtain softens direct sunlight effectively.
Limitation: Window light changes throughout the day and is unavailable after dark. For consistent results across different times and weather conditions, you need an artificial light source.
Option 2: Ring Lights
Ring lights are the most popular lighting upgrade among streamers and content creators. They are affordable, easy to set up, and produce a distinctive circular catchlight in the eyes.
How to position a ring light: Mount it directly in front of you, centered with your camera. The S3 should sit in the center hole of the ring. This creates even, shadow-free frontal lighting.
Choosing a ring light: Look for a ring light with adjustable color temperature (warm to cool) and adjustable brightness. The S3’s sensor automatically adjusts white balance, but matching your light’s color temperature to your environment produces more consistent results.
Ring light size: A 10-inch ring light works well for a single-person talking-head setup. A 14-inch or 18-inch ring provides more even coverage and works better at greater distances from the camera.
Limitation: Ring lights produce a flat, frontal look. The light comes from directly in front, eliminating most shadow and depth from your face. Some creators find this look too uniform. For more dimension, pair a ring light with a subtle side fill light.
Option 3: Softbox Lights
Softboxes produce larger, softer light sources than ring lights. They create more natural-looking shadows and give faces more dimensional, photographic quality.
How to use softboxes: Position one softbox as your key light — to one side of your camera at roughly 45 degrees and slightly above eye level. Add a second smaller softbox or a white reflector card on the opposite side as your fill light.
Panel LED lights are a modern alternative to traditional softboxes. They are thin, lightweight, and adjustable in both brightness and color temperature. Many creators prefer them over softboxes for desk setups because they take up less space.
Color temperature: Set your softbox or panel LED to 5500–6000K (daylight balanced) for a clean, natural look. This matches typical daylight and produces accurate skin tones without orange or blue casts.
Option 4: Desk Lamp Setup (Budget-Friendly)
A simple desk lamp can serve as an effective key light. This is the most accessible upgrade for users who do not want to buy dedicated video lighting.
How to use a desk lamp: Position it to one side, slightly in front of you. Aim it at your face at a slight downward angle. Use a bulb rated at 5000–6500K (daylight) for natural color rendering. Avoid warm incandescent bulbs, which give skin an orange cast.
Additionally, diffuse the lamp with a white paper or cloth shade if the light source is too harsh. A bare bulb creates small, hard shadows. A diffused source creates softer, more flattering shadows.
Common Lighting Mistakes to Avoid
Overhead lighting only. Ceiling lights cast shadows under your eyes, nose, and chin. This is the most common and unflattering lighting mistake. Always add a front-facing light to counteract overhead sources.
Multiple conflicting color temperatures. A warm desk lamp on one side and a cool window on the other creates an unnatural split-tone effect on your face. Match your light sources or use only one type.
Too much back light. A bright background competes with your face for the viewer’s attention. Keep your background light subtle — enough to add depth, but not so bright that it draws the eye away from you.
Lights too close. A light source very close to your face overexposes the skin and creates bright hot spots. Move the light back and increase brightness if needed.
Lighting and the YoloCam S3: What Changes
The S3’s large sensor handles challenging lighting far better than standard webcams. In practical terms, this means:
- You need less total light to get a clean image. A single desk lamp that would produce a noisy image on a small-sensor webcam produces a clean, detailed image on the S3.
- The S3 recovers highlight detail better. A bright window behind you will not immediately silhouette your face the way it does on cheaper cameras.
- White balance adjustment is more accurate. The sensor reads color temperature with greater precision, so automatic white balance produces more natural results.
However, great lighting still makes a significant visible difference. The S3 responds to good light with noticeably better skin detail, more accurate colors, and a more pleasing depth of field effect.
For a full guide on getting the most from the S3 in challenging light conditions, see our low-light performance deep dive.
Recommended Lighting Setups by Budget
Free: Face a window. Natural diffused daylight is the best light source available and costs nothing.
Under $30: Add a 10-inch ring light with adjustable color temperature. Position it directly in front of the camera.
Under $80: Two small LED panel lights — one as key, one as fill. This creates a professional three-dimensional look that ring lights cannot achieve.
Under $150: A quality 18-inch ring light or a pair of medium softbox panels with adjustable stands. This setup is equivalent to a professional YouTube studio configuration.
Final Thoughts
Lighting is the highest-return investment for any webcam setup. The YoloCam S3 performs exceptionally well — but proper lighting reveals its full capability. Good light makes the sensor’s large size and precise color science visible in every frame.
Start with a window or a simple desk lamp. Then upgrade gradually as your needs grow. Each lighting improvement will be immediately visible in your stream, your calls, and your recorded content.
47 total views, 47 views today

Meredith, the Marketing Manager at YoloLiv. After getting her bachelor’s degree, she explores her whole passion for YoloBox and Pro. Also, she contributed blog posts on how to enhance live streaming experiences, how to get started with live streaming, and many more.