Whether you’re a videographer, live streaming studio or corporate company in the streaming business, you should always look for new ways to improve live streaming quality because it’s critical for viewers, customers and your bands.
Research has also shown that business revenues that depend on live streaming can drop up to 25% if the broadcast quality is poor. To help you create high-quality live streams, this post looks at everything you can do to produce the best live video content.
- Use Quality Cameras
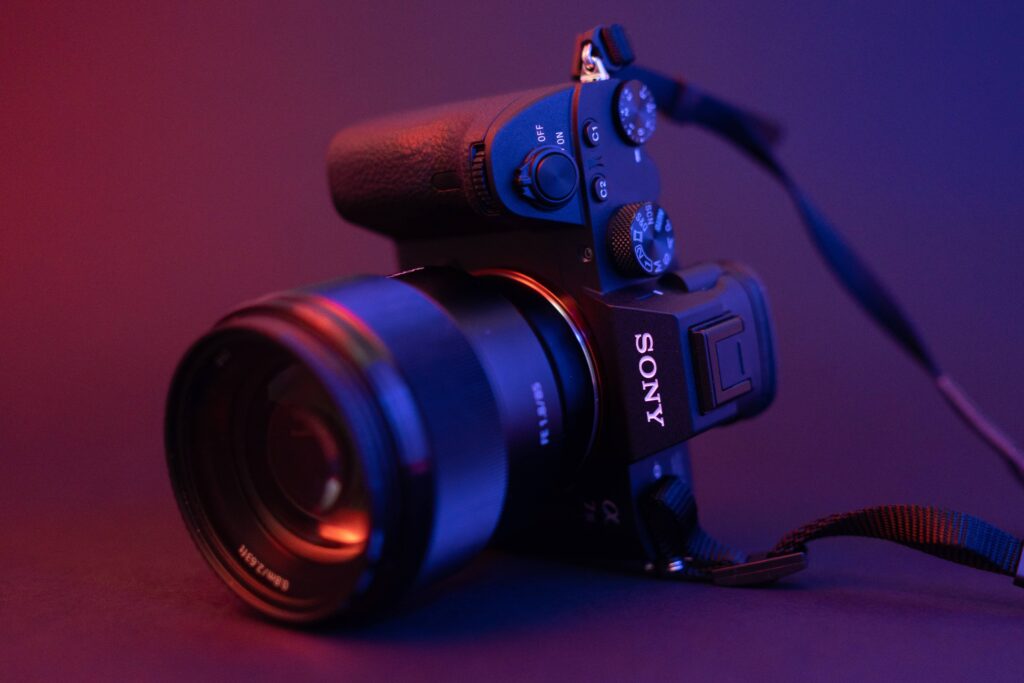
A good camera is a key to a quality live stream. If you’re looking for professional live streaming and delivering high-quality content to your viewers, investing in quality cameras is a must. The best live streaming cameras capture focused, high-resolution videos without any lag. YoloLiv products work with most video cameras on the market, particularly well with Sony, Panasonic and JVC.

2. Use High-Speed Internet Connections
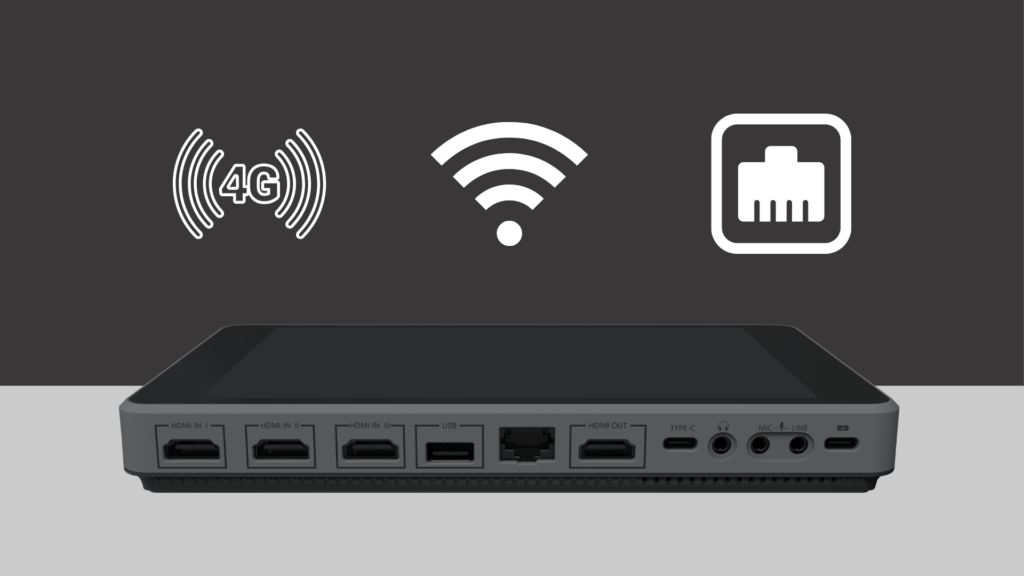
A high-quality live stream requires a very strong internet connection and a lot of bandwidth. When you’re choosing an internet connection, we recommend you choose ethernet over a wireless connection since WiFi can be unstable. But if you’re outside streaming, try the following few tips to get a better Wi-Fi signal:
- Move close to the router to ensure a clear signal.
- Remove other devices from the network. Every additional device on a network draws more bandwidth.
- If necessary, purchase a faster internet plan.
Be sure to check your upload bandwidth to make sure you have sufficient internet speed to sustain higher-quality live streaming.
Minimum upload speeds for different levels of streaming quality:
- 270p (Low): 1.5mbps upload
- 360p (Medium): 2mbps upload
- 540p (High): 2.5mbps upload
- 720p (HD): 6mbps upload
- 1080p: 12mbps or higher upload

3. Try Network Bonding Instead
But If you’re streaming outside with no access to Ethernet and Wi-Fi connection is also weak, for YoloBox/YoloBox Pro users, you can try sim card or network bonding by installing Speedify on your device. In that way, you can bond all available network connections together for more stable and quality live streams. Our favorite live streaming YouTuber Aaron Parecki, shows you step by step how to install Speedify on the YoloBox or YoloBox Pro in this video.
4. Use Appropriate Encoder Settings
Encoder (software or hardware) is a tool that converts your live video into streaming compatible formats. Using the correct settings determines the quality of the video and audio that is transmitted to your audience. The encoder settings has a lot to do with the quality of your live stream.
Here are our recommended live encoder settings:
| VIDEO CODEC | H.264 |
| FRAME RATE | 25 or 30 (Better) |
| KEYFRAME INTERVAL | 2 secs (or 2x frame rate) |
| SCANNING | Progressive |
| ENCODING BITRATE | Constant (CBR) |
| AUDIO CODEC | AAC |
| AUDIO BITRATE | 128 kbps |
| AUDIO CHANNELS | 2 (Stereo) |
| AUDIO SAMPLE RATE | 48 kHz (48,000 Hz) |
What’s the encoder settings on YoloBox & YoloBox Pro:
| VIDEO CODEC | H.264 |
| FRAME RATE | 20, 24, 25, 29.97 and 30 |
| KEYFRAME INTERVAL | 2 secs (or 2x frame rate) |
| SCANNING | Progressive |
| ENCODING BITRATE | Constant (CBR) |
| AUDIO CODEC | AAC |
| AUDIO BITRATE | 128 kbps |
| AUDIO CHANNELS | 2 (Stereo) |
| AUDIO SAMPLE RATE | 44.1 kHz (44,100 Hz) |
5. Look at the Video Bitrate
The live stream bitrate tells you how much information is transmitted online every second. A higher bitrate transmits more pixels and information at a higher speed. The transmission speed can be affected by Internet speeds and video size.
If you have a high internet speed, go with a high bitrate for more smooth video streaming. If not, high bitrates can cause a poor video experience. Choosing the right video bitrate is crucial for professional and quality live streaming but requires multiple tests before going live. It takes and it’s important.
Another thing that is close to bitrate is encoding mode. There are 3 modes on YoloBox: constant bitrate encoding (CBR), variable bitrate encoding (VBR), and constant quality (CQ). What’s the differences between CBR, VBR and CQ? Click to seee details.

6. Change the FPS (Frames per second)
FPS determines how many frames or “images” are sent every second. If your live video is choppy and far from smooth, you can change your FPS rate to improve your live streaming quality.
For the best live streaming quality, we recommend you select above 25 FPS. A framerate of 30 FPS is ideal. You can also stream at 60 FPS for even higher quality, but it will require more power and upload speed.
7. Complete a Test Live Stream
For a flawless live stream, you’re going to have to practice beforehand to make sure everything is set up correctly, especially your cameras and mics. You must also test your internet connection and streaming settings like the bitrate and frame rate. Once you’ve done a few tests, you can analyze the replays to decide which settings worked best.
Key Takeaway
As a live streamer, you should be focusing on maximizing the quality of your broadcasts. On live streaming, the highest quality settings aren’t always the best settings for you. Many factors should be taken into account when you set up your live stream, especially the quality of the cameras and your internet connection.
Be sure to always run your own tests with different settings as mentioned above and choose the best one for you.
31,174 total views, 3 views today

As product operation manager at YoloLiv, Esther and her team stay focused on our customers’ needs and constantly push forward new updates for YoloBox and Pro. Also, she contributed some blog posts from perspectives on how to enhance live streaming experience, live streaming sop for newbies, and more.


